
Last updated September 21, 2026
Full 25-point door and opener safety check with every visit - springs, cables, rollers, tracks, and your LiftMaster or Chamberlain opener included
You get a price before we start. It does not change when the truck arrives.


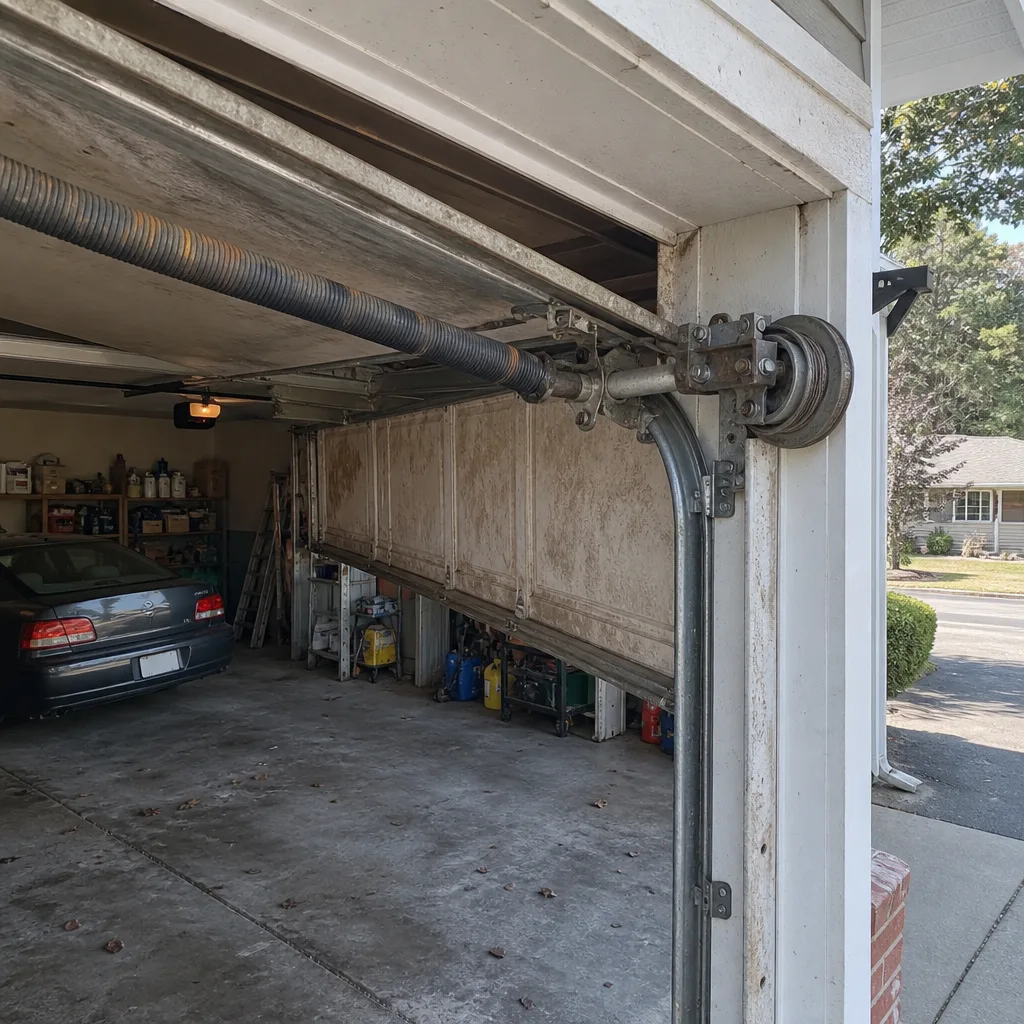 Before
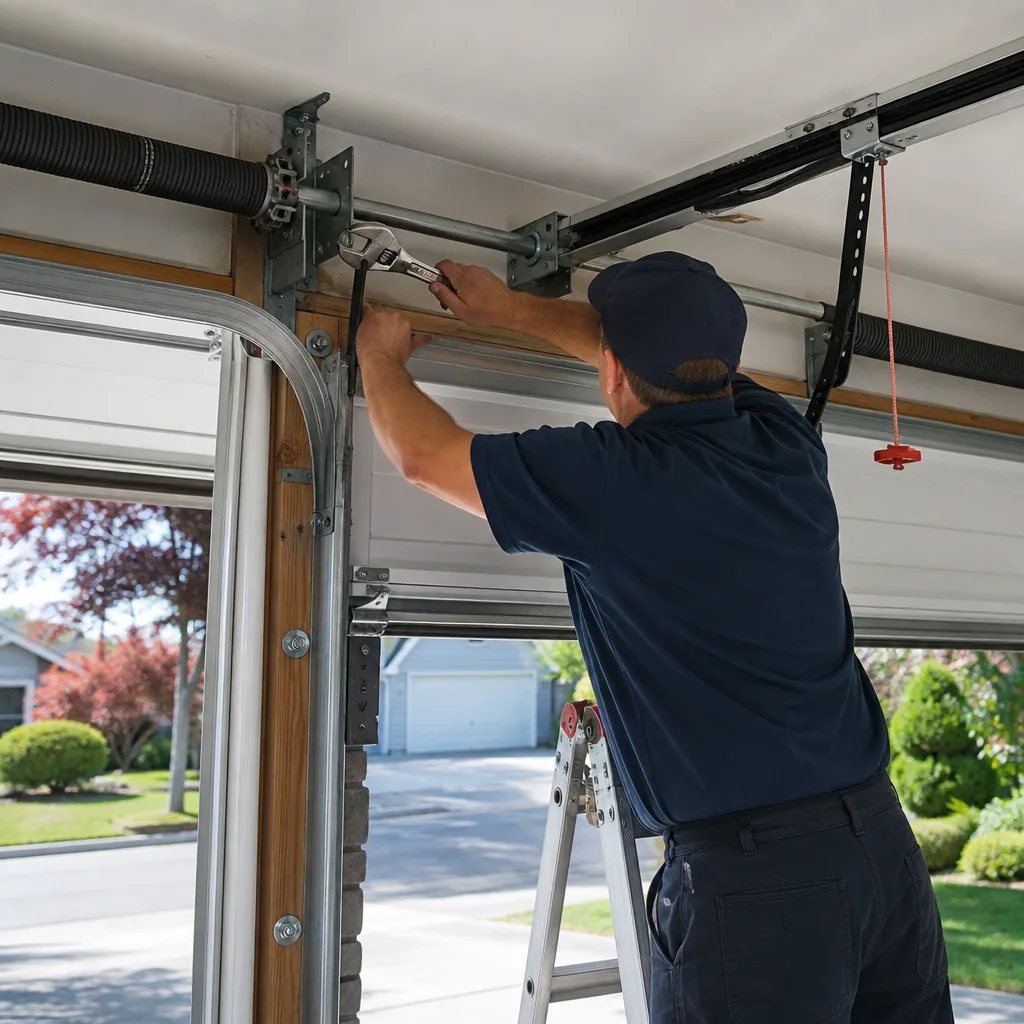 After
After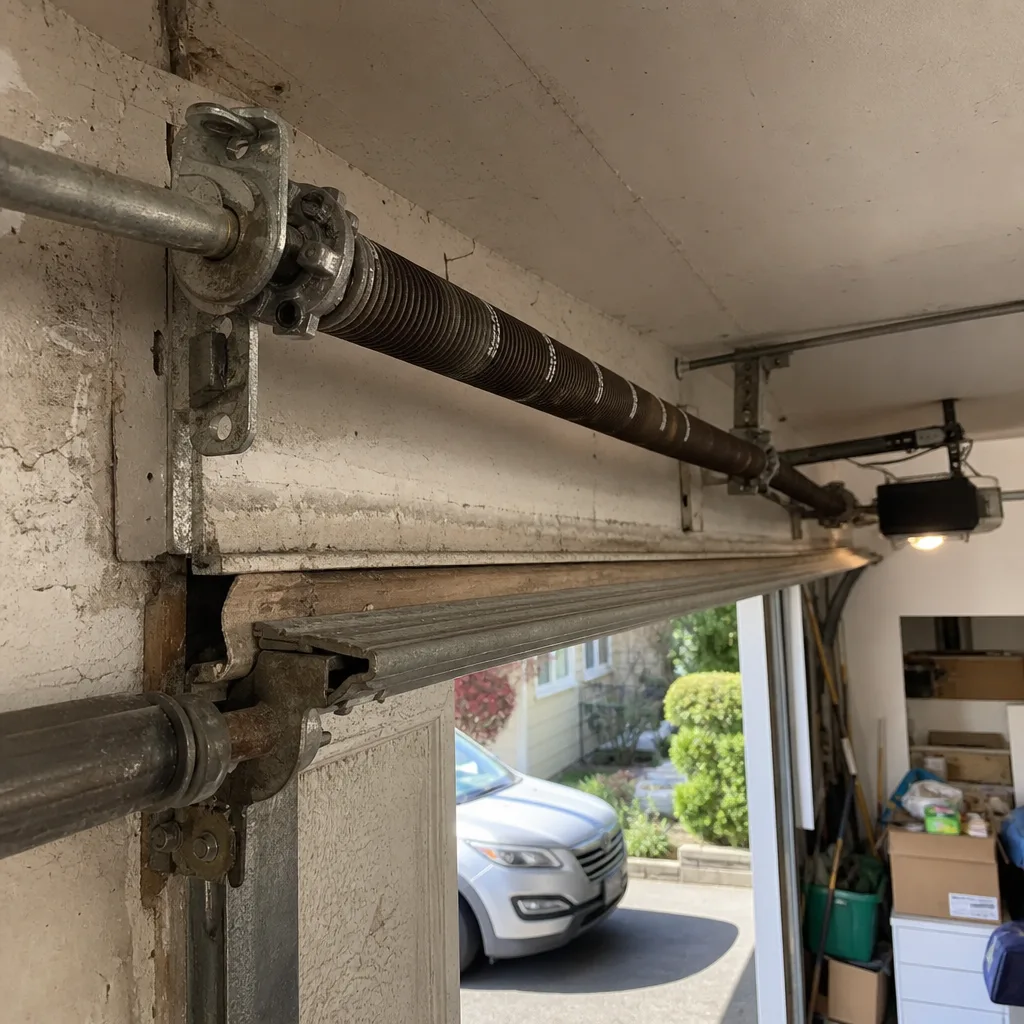 Before
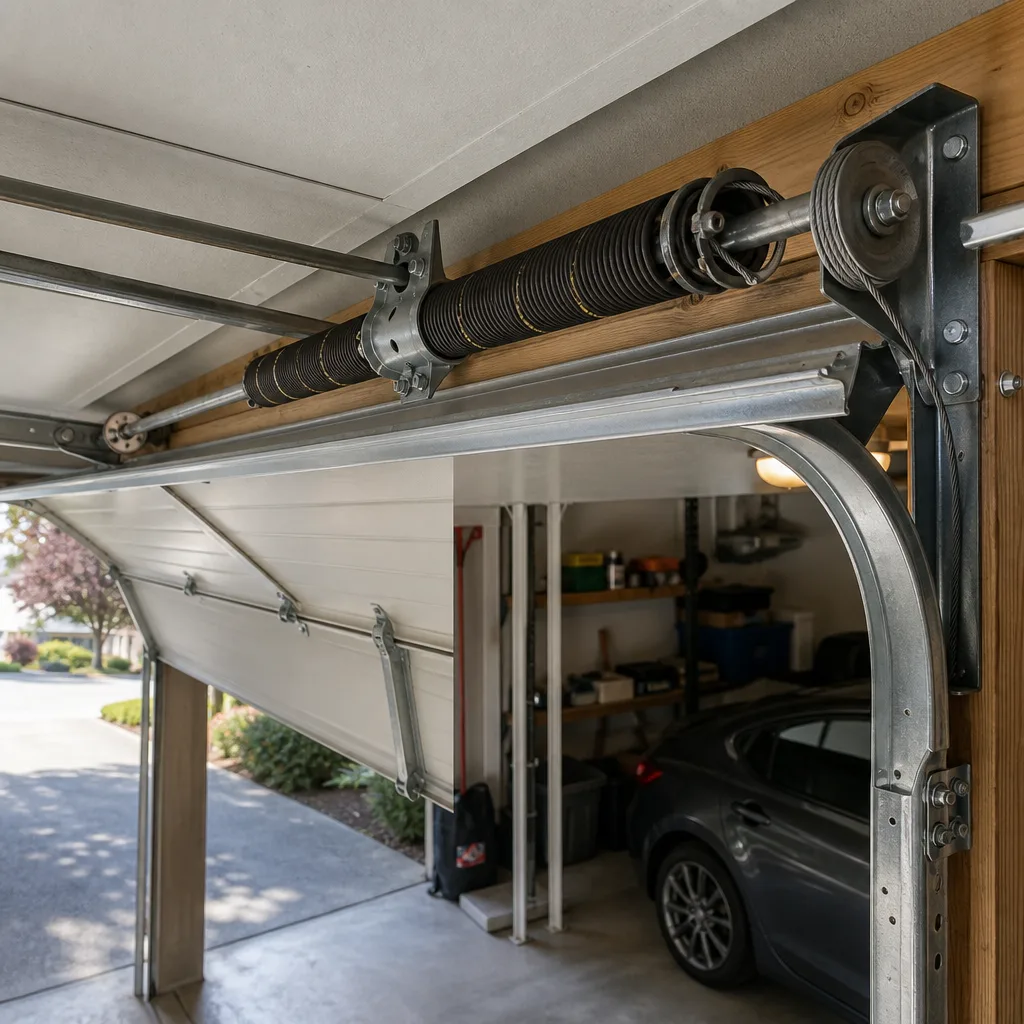 After
After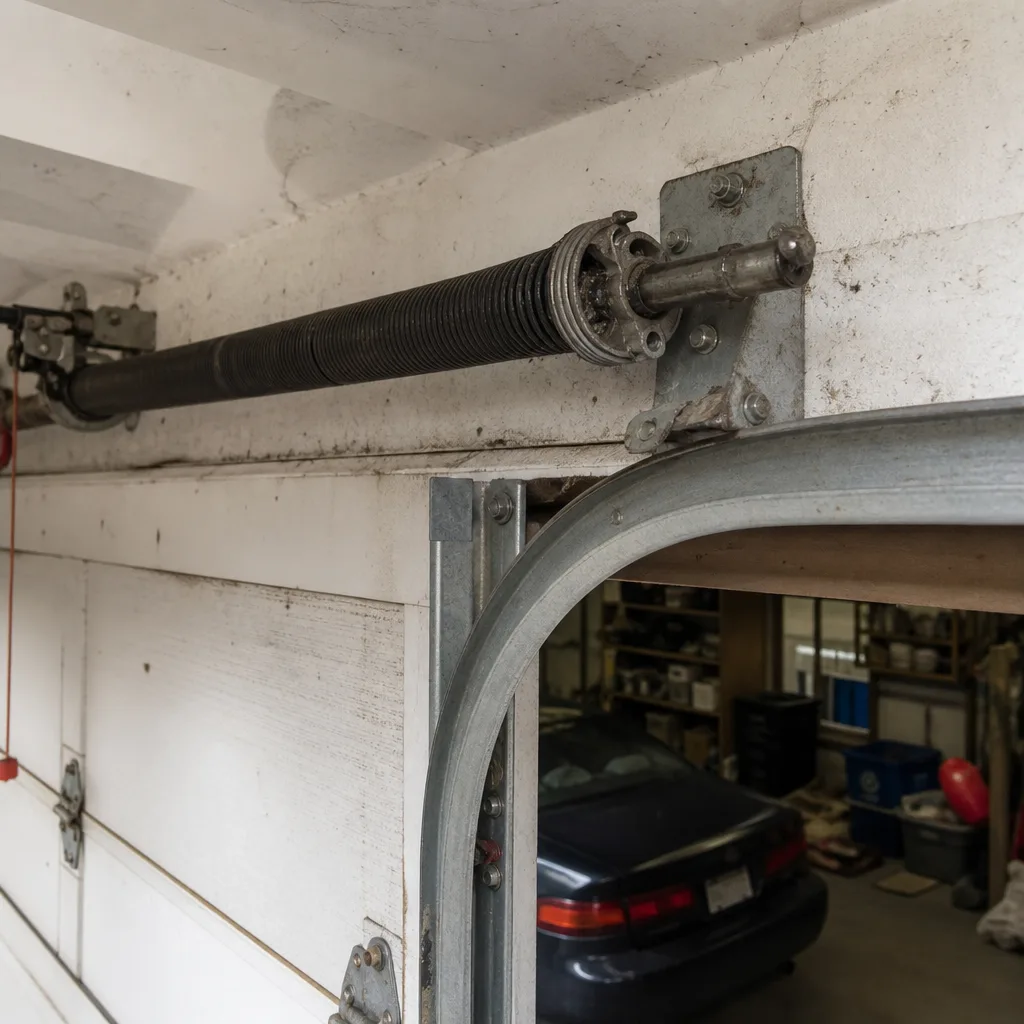 Before
 After
AfterDIY vs Professional Garage Door: The Redmond Homeowner’s Decision Guide
A torsion spring on a standard 16-foot residential garage door stores roughly 100 foot-pounds of torque when fully wound. That’s the same energy order as a car door slamming on your hand, except it’s metal under tension and it’s above your head. In Redmond, where we service homes from Education Hill to the Overlake neighborhoods, we’ve responded to DIY spring jobs that ended with the door crashing into a car, the opener stripping its main gear, and in two cases we’ve documented, a homeowner in the ER. The question isn’t whether you’re handy. It’s whether the cost of getting it wrong exceeds the cost of a technician who shows up with the right winding bars and a written price before touching anything. This guide draws a clear line: some garage door work is genuinely homeowner-appropriate, some carries injury risk that invalidates any savings, and the dividing line is spring tension, not skill level.
Quick Answer
Most Redmond homeowners can safely handle lubrication, weather seal replacement, and basic opener limit adjustments themselves. Any work involving torsion springs, cables under tension, or panel replacement on a door with extension springs should be left to a professional. The break-even point on DIY savings disappears once you factor in proper tools, the injury risk of stored torque, and the documentation required for insurance or home sale disclosures.
Table of Contents
- Where the Line Is Drawn: The Task-by-Task Matrix
- Why Torsion Spring Work Is Not a DIY Project
- The Tool and Material Cost Reality Check
- Washington State L&I Rules and Permit Requirements
- The Documentation Argument: Paper Trail vs. No Paper Trail
- How Redmond’s Climate Affects Your Garage Door
- When DIY Makes Sense (and How to Do It Right)
- Common Mistakes to Avoid
- When to Call a Professional
- Frequently Asked Questions
- The Bottom Line
 Before
 After
AfterWhere the Line Is Drawn: The Task-by-Task Matrix
We’ve organized this by what we actually find when we arrive at Redmond homes. The pattern is consistent: the jobs that went well were lubrication and seal work. The jobs that went badly involved springs, cables, or a homeowner who didn’t realize their door had a torsion system until they started.
Homeowner-Appropriate Tasks
- Lubricating rollers, hinges, and the torsion spring (from a safe distance). Use a silicone-based spray, not WD-40. Apply to the roller bearings and hinge pivot points. For the spring, a light coating on the coils from arm’s length reduces friction noise. Do not touch the spring with your hands or attempt to grip it.
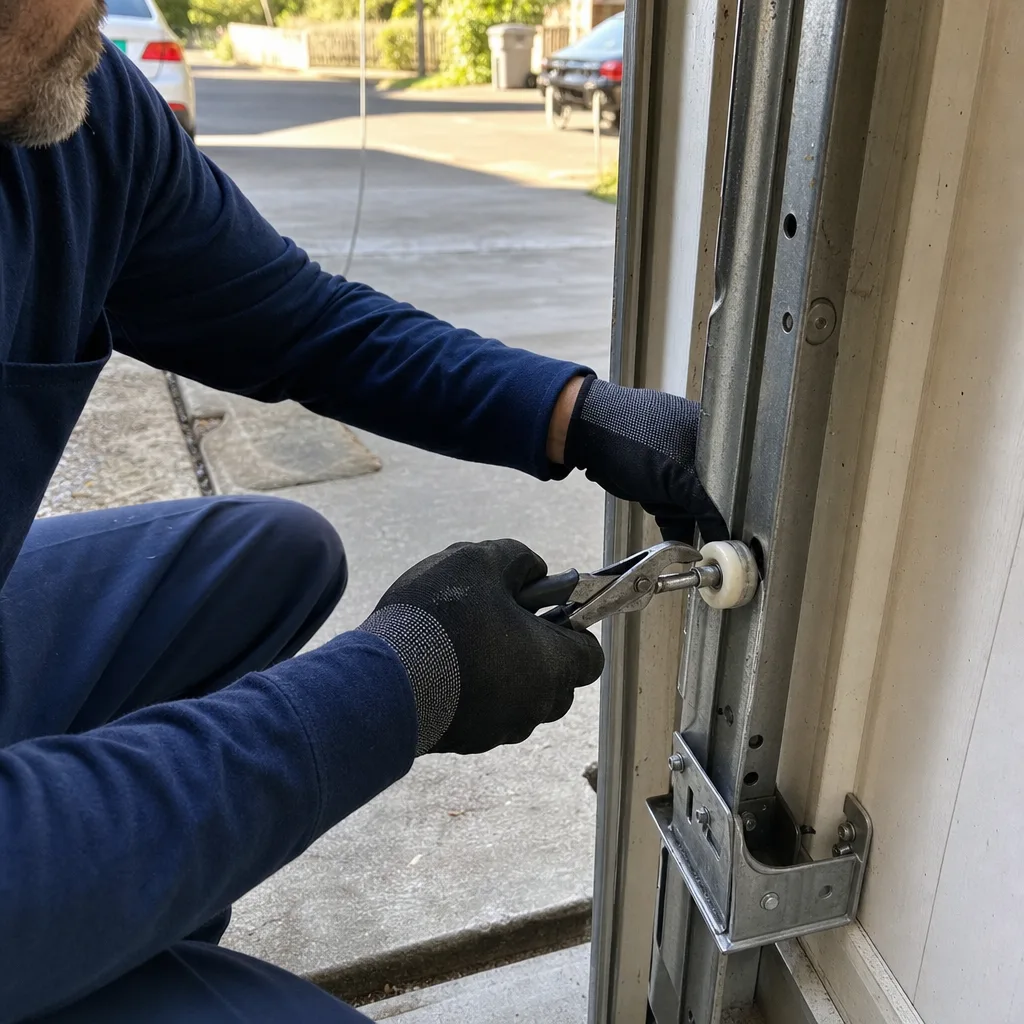
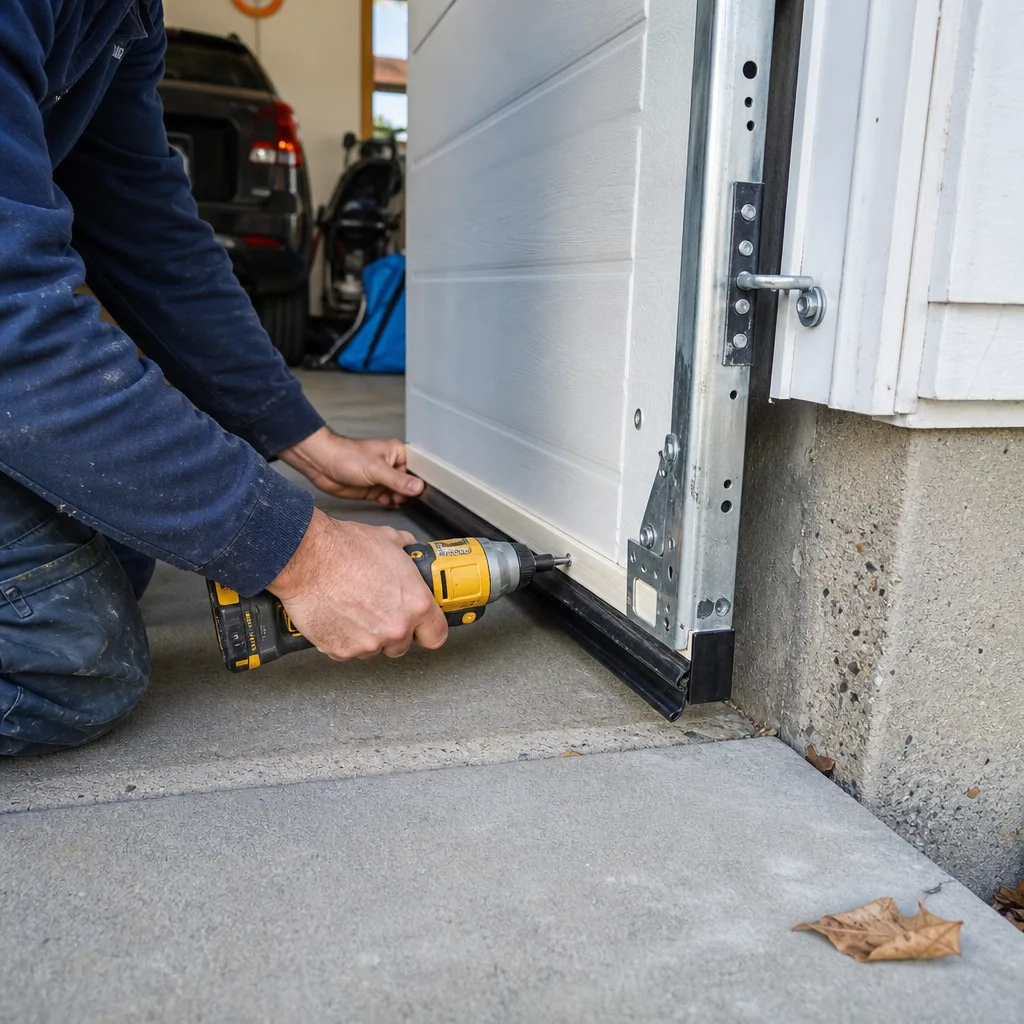
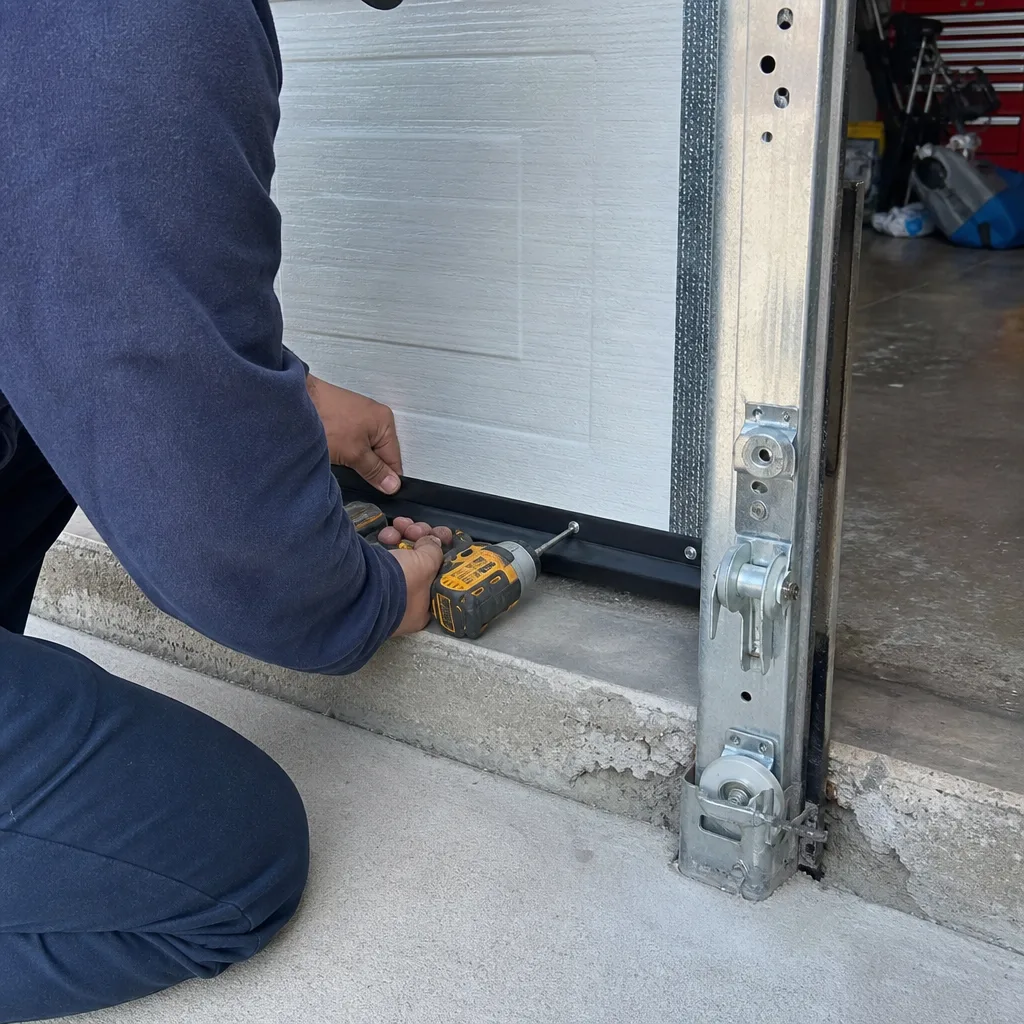
- Replacing the bottom weather seal. The seal slides into a retainer channel at the bottom of the door. Most Clopay and Amarr doors use a T-shaped or bulb seal that pulls out and pushes in by hand. Measure the door width, buy the correct profile, and work on a warm day in Redmond - the vinyl is more pliable at 55°F than at 40°F.
- Adjusting opener travel limits and force settings. On a LiftMaster, Chamberlain, or Genie opener, the limit switches are two white plastic screws on the motor housing. Turn them a quarter-turn at a time, testing between adjustments. The door should stop 1-2 inches from the floor in the down position and not hit the opener carriage in the up position.
- Replacing remote batteries and reprogramming remotes. The learn button is typically a purple, yellow, or red square on the opener housing. Press it once, then press the remote button within 30 seconds.
- Cleaning photo-eye sensors. Wipe the lenses with a soft cloth, check alignment (both LEDs should be solid, not blinking), and verify nothing blocks the beam.
Professional-Only Tasks
- Torsion spring replacement or adjustment. Requires winding bars (solid steel, not screwdriver substitutes), a winding cone tool, and knowledge of the door’s weight and drum size. The spring must be matched to the door’s moment arm - a 0.234 wire on a 2-inch ID spring for a standard 16×7 steel door, but the spec varies by manufacturer.
- Cable replacement on a torsion system. Cables are under tension even when the door is closed. If a cable unwinds from the drum, the door can drop or shift in the tracks.
- Panel replacement on a sectional door with extension springs. The springs run parallel to the horizontal tracks and are stretched when the door is closed. Removing a panel changes the spring geometry.
- Track realignment or replacement. Vertical and horizontal tracks must be plumb and parallel within 1/4 inch. A misaligned track causes roller binding and premature wear.
- Opener logic board replacement on integrated smart systems. Modern WiFi-enabled openers (MyQ, Aladdin Connect) require programming that ties to home networks and security protocols.
The matrix is simple: if the component stores mechanical energy or supports the door’s weight, it’s professional work. If it reduces friction or seals air gaps, it’s homeowner work.
Why Torsion Spring Work Is Not a DIY Project
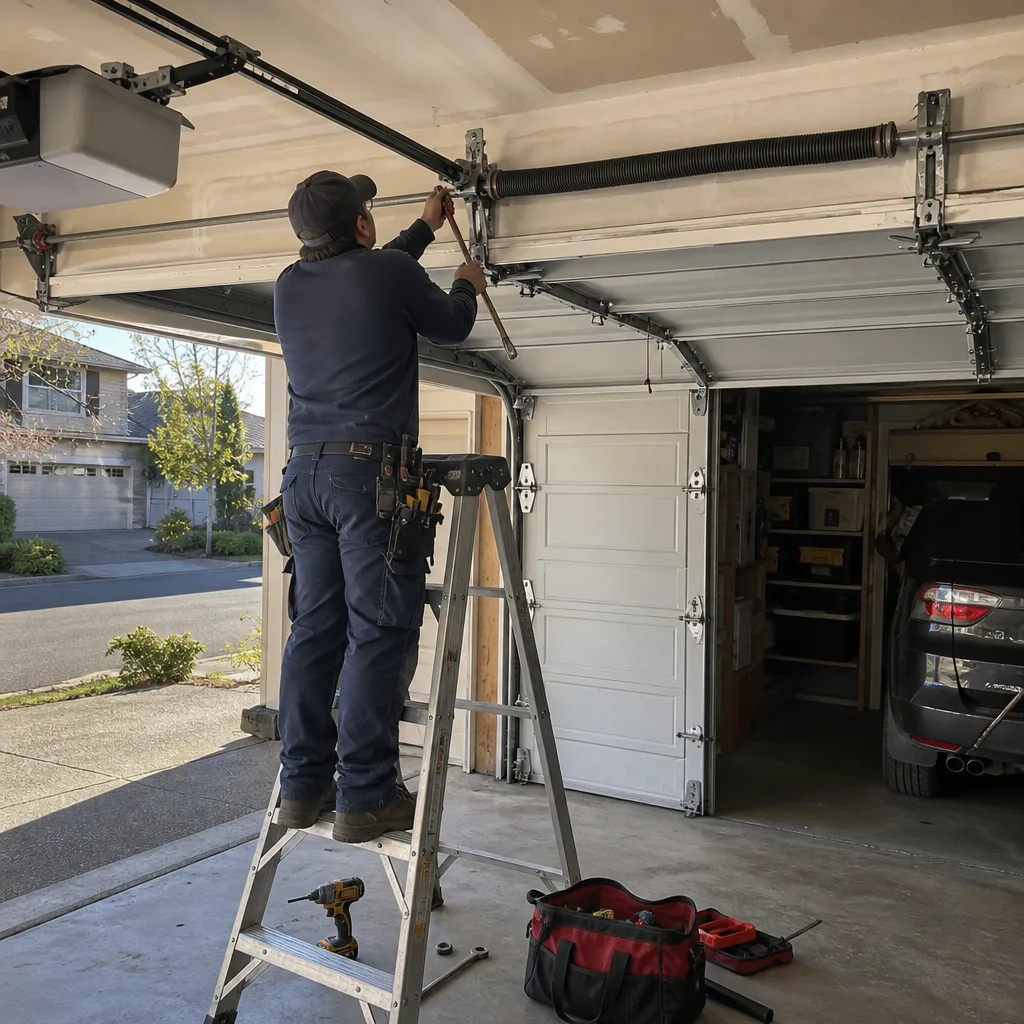
We’ve heard the same reasoning at Redmond homes: “I watched the video,” “I have a helper,” “I’ll wear safety glasses.” None of these mitigate the failure mode.
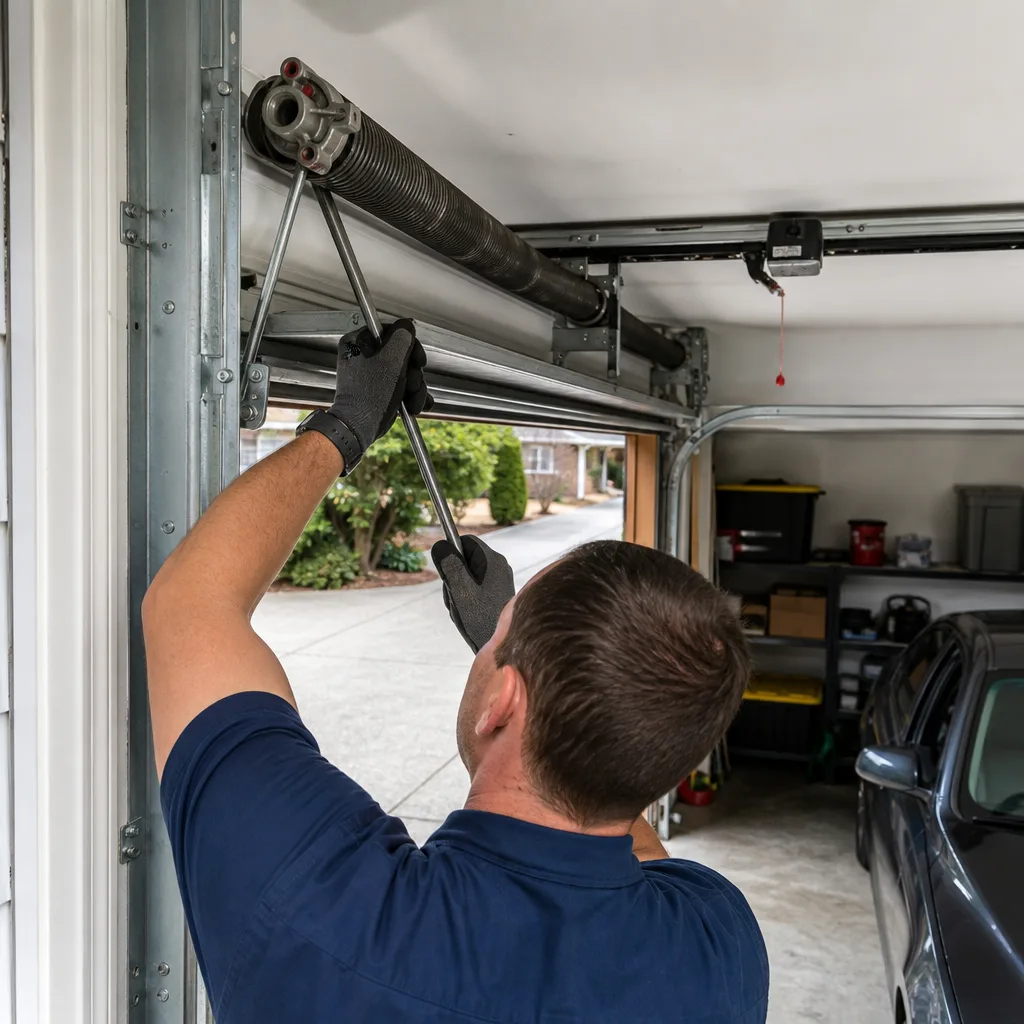
A torsion spring fails in one of two ways during amateur work. First, the winding cone slips from the winding bar. The bar is inserted into the cone’s cogs to add or release tension. If the bar isn’t fully seated - and it often isn’t, because the homeowner is working at arm’s length above their head - the cone strips and the spring unwinds in a quarter-turn. The bar becomes a projectile. We’ve documented cases where the bar dented a car hood, punched through drywall, and in one instance on 172nd Avenue NE, broke a garage window.
Second, the spring itself breaks during winding. A 2-inch ID spring with 0.250 wire stores approximately 8,000-10,000 cycles of energy. When it breaks, the ends separate at roughly 200 miles per hour. Safety glasses protect your eyes. They do not protect your face, neck, or the structural components around you. The required safety measure is distance, not personal protective equipment. A professional technician stands to the side of the winding cone, uses two solid steel winding bars simultaneously, and has done this enough to feel when the spring is seating correctly.
The helper argument fails because two people cannot control a spring failure. The helper is typically holding the door or handing tools, not positioned to stop a mechanical event measured in foot-pounds. We’ve responded to calls where the helper was injured because they were standing in the spring’s arc.
In Redmond, the cost of a professional torsion spring replacement typically runs $220-$380 depending on wire size, door weight, and whether the drums or bearings need replacement. The cost of an ER visit for a facial laceration or hand fracture, even with good insurance, starts at the high end of that range and climbs. The math is not close.
The Tool and Material Cost Reality Check
Homeowners often compare the $280 spring replacement quote to the $80 spring they found online. The gap is not markup. It’s tools, measurement accuracy, and the cost of getting it wrong.
To replace a torsion spring properly, a homeowner needs:
- Solid steel winding bars, 1/2-inch diameter, 18 inches long ($25-$40). Pipe or screwdriver substitutes fail and are the leading cause of injury in amateur spring work.
- A set of vise grips or locking pliers to secure the torsion tube ($15-$25).
- A winding cone tool or adjustable wrench set for the set screws ($20-$35).
- A scale or engineering reference to calculate door weight and match spring wire size and length ($0 if you know the formula, but most homeowners don’t).
- A replacement spring matched to the door’s specifications ($60-$120, but wrong specs mean a second purchase).
- A second person for safety, scheduled during working hours.
That’s $120-$220 in tools for a one-time job, plus the risk premium. A professional arrives with calibrated spring gauges, a full inventory of wire sizes from 0.207 to 0.283, and the experience to measure the door’s moment arm without disassembly. The “savings” on a single spring job evaporate if the homeowner buys the wrong spring - which is common, because online listings often omit the critical wire diameter or inner diameter spec.
For panel replacement, the tool gap is wider. A homeowner needs a impact driver, sawhorses, panel clamps, and help lifting a 75-120 pound section. A technician brings a panel cart, temporary bracing, and the knowledge that a Wayne Dalton pinch-resistant hinge requires a different fastener torque than a Clopay pinch-proof system. We’ve re-hung panels in Redmond’s Bear Creek and Willows Run neighborhoods where the homeowner’s DIY attempt stripped the hinge bolts and bent the track, turning a $400 panel job into an $800 track-and-panel replacement.
The savings gap closes only for homeowners who own the tools already and plan multiple garage door projects. For a single repair, the tool investment plus risk exposure typically exceeds professional pricing.
Washington State L&I Rules and Permit Requirements
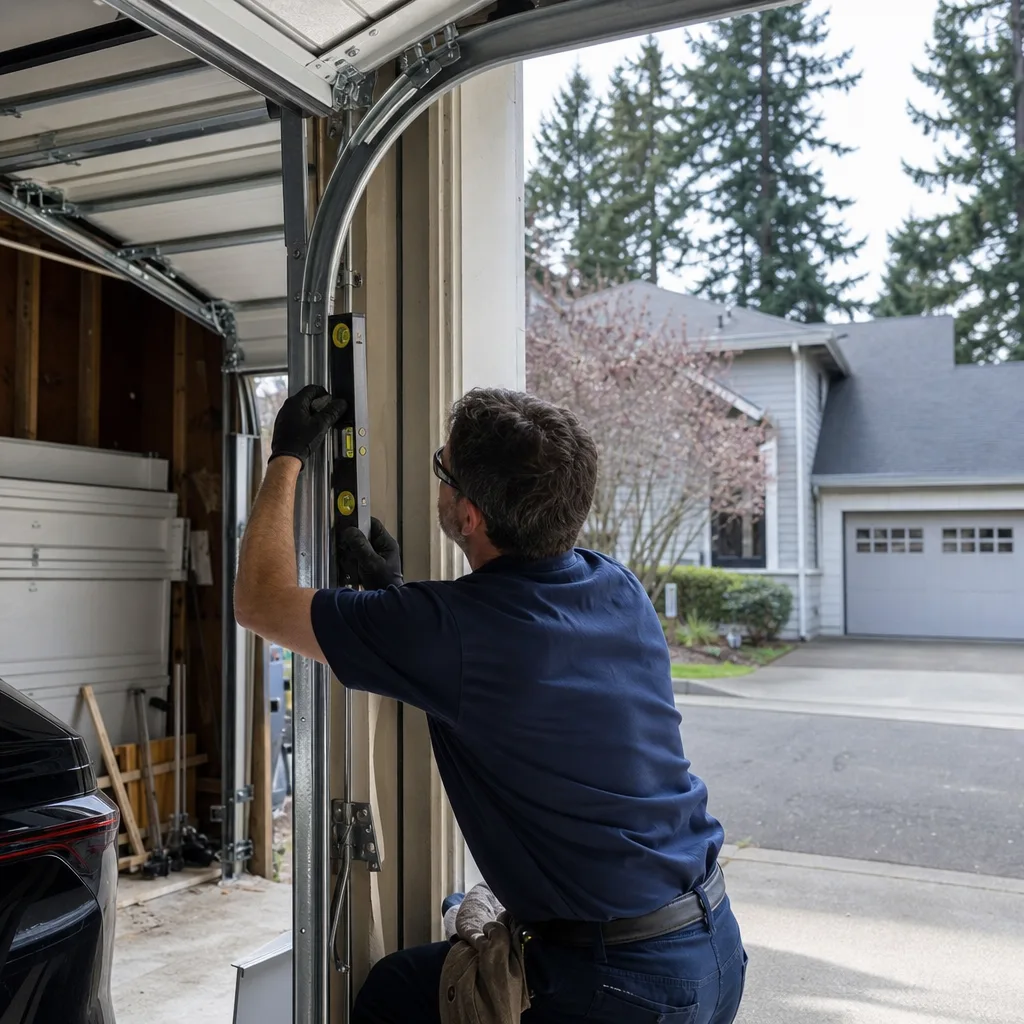
Washington’s Department of Labor & Industries (L&I) draws a line that affects Redmond homeowners directly. Any garage door replacement that involves structural modification - widening the opening, converting a single door to a double, or installing a door in new construction - requires a permit and inspection through the City of Redmond’s Community Development Department. The permit application references the current International Residential Code and Washington State amendments. For full details, read Garage Door Permits, Codes & Inspections in WA: What You Need to Know.
DIY work on permitted scopes is legal for the homeowner doing their own work, but the inspection standard is the same as for a contractor. The door must meet wind load requirements for King County (exposure category B, 85 mph basic wind speed), the opener must have battery backup if installed after 2019 per Washington State Senate Bill 969, and the photo-eye sensors must be 6 inches from the floor, not the 4 inches some older manuals suggest.
Where DIY becomes problematic is when the homeowner sells. A non-permitted structural modification, or a door installation without the required inspection, must be disclosed on Form 17 (the Seller Disclosure Statement). We’ve had Redmond sellers call us to document and, in some cases, re-permit work done by a previous owner that was never inspected. The cost of retroactive permitting and correction often exceeds the original installation quote.
For repair work - spring replacement, cable replacement, opener repair - no permit is required. But the documentation gap remains, which brings us to the next section.
The Documentation Argument: Paper Trail vs. No Paper Trail
This is where Servo’s approach differs from both DIY and most competitors, and it’s relevant to every Redmond homeowner who files an insurance claim or plans to sell.
When we complete a garage door repair in Redmond, the customer receives three documents: a written scope of work with flat pricing signed before we started, a photo record of the failed component and the completed repair, and a warranty statement tied to the specific parts and labor. This traces to Clause 4 of The Haven Standard, our founding rule from 2015: the customer sees the failed part before anyone quotes a replacement.
A DIY repair produces none of this. If the spring fails again in six months, there’s no warranty to invoke. If the door drops and damages a vehicle, the homeowner’s insurance adjuster asks for invoices and inspection records. A handwritten receipt from an online parts vendor does not establish that the work was done to standard. In one case we documented in Redmond’s Grass Lawn neighborhood, a homeowner’s DIY spring replacement failed and damaged their Tesla. The insurance company denied the claim because the repair was not performed by a licensed, insured contractor with a verifiable invoice.
For home sales, the Form 17 disclosure asks about “defects or malfunctions” in the garage door system. A professional repair with dated documentation shows the issue was addressed. A DIY repair requires the homeowner to attest to their own workmanship, which most real estate attorneys advise against.
The paper trail also matters for product warranties. Genie, LiftMaster, and Chamberlain opener warranties require installation by a qualified technician for full coverage. A homeowner-installed opener with a logic board failure may be limited to parts-only warranty, with the customer paying labor for replacement.
How Redmond’s Climate Affects Your Garage Door
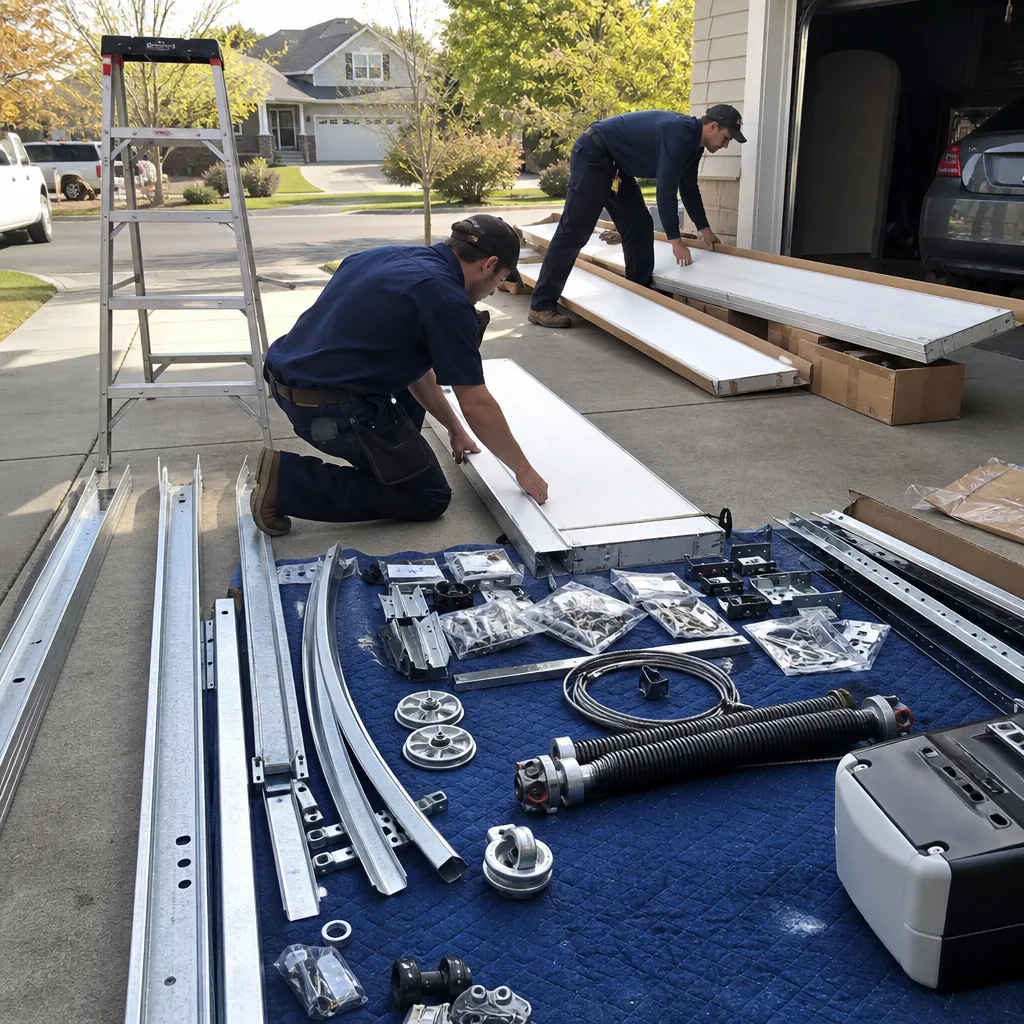
Redmond’s wet winters and dry summers create specific wear patterns that influence the DIY-vs-pro calculation.
From November through March, we see moisture infiltration at the bottom seal and rust formation on bottom fixtures and cables. The rust is often cosmetic on the cable’s outer surface but can mask internal strand failure. A homeowner can replace the seal, but cable inspection requires unwinding the door from the spring system - back to professional territory. In the Sammamish Valley and near Evans Creek, where the water table is higher, we see accelerated corrosion on torsion springs. A spring that lasts 12,000 cycles in Arizona may fail at 9,000 in Redmond’s humidity.
Summer brings the opposite problem: thermal expansion in steel tracks and vinyl seal hardening. A door that worked in May may bind in August as the track spacing changes by 1/8 inch. Homeowner lubrication helps. Track realignment requires a level and the knowledge that the track bracket bolts are designed to allow adjustment - but overtightening strips the slots.
The climate argument for professional work is predictive maintenance. We note rust patterns, cable fraying, and roller wear during routine calls in Redmond’s Education Hill and Overlake areas. A homeowner doing annual DIY lubrication won’t see the cable strands parting inside the sheath until the door shifts in the tracks or the cable snaps.
When DIY Makes Sense (and How to Do It Right)
We’re not opposed to homeowner work on the right tasks. We’ve written this guide precisely because we want Redmond homeowners to know where the line is, not to fear every garage door interaction.
For lubrication, the correct interval is every 6 months or 1,000 cycles. Use a silicone spray or lithium grease on metal-to-metal contact points. Do not use WD-40 - it’s a solvent, not a lubricant, and attracts dust that forms grinding paste. Apply sparingly; excess grease collects debris.
For seal replacement, measure the retainer channel width (typically 1/4 inch or 5/16 inch) and buy the matching profile. In Redmond, U-shaped bulb seals perform better than T-shaped in wet conditions because the bulb compresses more completely against uneven concrete. Work in afternoon sun if possible - the vinyl is more flexible at 50°F than at 35°F.
For opener limit adjustment, the manual is definitive. On a Genie chain drive, the down limit is the rear screw, the up limit is the front. Turn clockwise to decrease travel, counterclockwise to increase. Test with a 2×4 on the floor - the door should reverse on contact. If it doesn’t, the force setting is too high, which is a safety hazard, not a convenience issue.
The common error in DIY opener work is adjusting limits without checking the door’s balance first. An unbalanced door - one that won’t stay at half-open without drifting - overloads the opener and strips the main drive gear. Check balance by disconnecting the opener trolley and lifting the door manually to the halfway point. If it drifts, the spring system needs professional attention before you touch the opener settings.
Common Mistakes to Avoid
- Using screwdrivers or pipe as winding bar substitutes. We’ve documented three injuries in Redmond from this exact error. The tool must be solid steel, 1/2-inch diameter, inserted fully into the winding cone. Anything else is a gamble with facial bones.
- Ignoring door balance before adjusting opener limits. An unbalanced door burns out the opener’s main gear in 6-18 months. The gear replacement costs $180-$280, more than a spring adjustment would have cost.
- Buying springs by door size alone. A 16×7 door might need a 0.234 x 2.00 x 31 spring or a 0.250 x 2.00 x 29, depending on track radius, strut configuration, and whether it’s an Amarr, Clopay, or Wayne Dalton system. The wrong spring shortens opener life or causes the door to creep closed.
- Working alone on panel replacement. A steel panel weighs 75-120 pounds. Even with clamps, it shifts when hinge bolts are removed. We’ve re-hung panels in Redmond where the homeowner dropped the section onto their car’s fender.
- Not checking for permit requirements on door replacements. The City of Redmond requires permits for structural modifications. A non-permitted installation disclosed at sale can trigger re-inspection and correction costs.
- Assuming all openers program the same way. MyQ-enabled LiftMaster units pair through the app, not just the learn button. Chamberlain’s secure 2.0 remotes require a specific sequence. Guessing the programming can lock the opener in a confused state requiring a factory reset.
When to Call a Professional
Call when the component stores energy, supports weight, or requires documentation. That covers springs, cables, track work, panel replacement, and any scope where an invoice might be needed for insurance or sale disclosure.
Specific scenarios: the door makes a loud bang and won’t open (broken spring); the door is crooked in the tracks (cable or drum failure); the opener runs but the door doesn’t move (stripped main gear or broken trolley carriage); you’re replacing the entire door or opener system; or you’re preparing to sell and need documented repair history.
Servo Garage Doors Redmond offers free estimates in Redmond - call (425) 305-4847. Every estimate includes a written, flat price and scope before any work begins, per Clause 1 of The Haven Standard. You’ll also receive a documented photo record of what we find and what we do, tracing to Clause 4. If you’re comparing quotes, bring any competing written estimate for our Free Second Opinion - no coupon required.
Frequently Asked Questions
Torsion spring replacement in Redmond typically costs $220-$380 for a standard residential door, depending on wire diameter, door weight, and whether drums or bearings need replacement. See our Garage Door Cost Breakdown: The Redmond Homeowner’s Reference for 2026 for a full pricing breakdown. Extension spring systems run slightly lower, $180-$280, but are less common in homes built after 2000. We quote a flat, written price before any work starts - Clause 1 of The Haven Standard - and that price does not change once we see the door. Call (425) 305-4847 for an exact quote; estimates are free.
No. Even if you have the correct spring and winding bars, the injury risk from a winding cone slip or spring break exceeds any cost savings. Torsion springs store roughly 100 foot-pounds of torque. The required safety measure is professional distance and technique, not caution or protective equipment. We’ve responded to DIY attempts in Redmond that resulted in property damage and injury. The 365-Day Done Right Promise on our professional work means if it’s not right, we make it right - a guarantee no DIY repair carries.
No. Servo’s written price and scope are delivered before any work begins. If we find additional issues during inspection - a cracked drum, worn bearings, a bent track - we document them with photos and present a separate, optional scope with its own flat price. The original quote stands unless you approve additional work. This is Clause 1 of The Haven Standard, and it’s how we’ve operated since 2015.
Yes. Our technicians arrive with a full inventory of torsion and extension springs in wire sizes from 0.207 to 0.283, cables, rollers, hinges, bottom fixtures, and opener components for LiftMaster, Chamberlain, Genie, and other major brands. For garage door installation in Redmond, we measure and order panels to spec; we don’t guess from a catalog. For repairs, same-day completion is standard because the parts are on the truck.
Redmond’s wet winters accelerate rust on bottom fixtures, cables, and torsion springs. We see more spring failures in February and March than any other months. Summer thermal expansion causes binding in steel tracks. Homeowners should lubricate rollers and hinges every 6 months and inspect the bottom seal annually for cracking. Professional inspection every 2-3 years catches cable fraying and spring fatigue that DIY maintenance won’t reveal.
You receive three items: a written scope of work with flat pricing signed before work began, a photo record of the failed component and completed repair, and a warranty statement for parts and labor. This traces to The Haven Standard’s Clause 4, our founding rule from 2015. The documentation supports insurance claims, home sale disclosures, and warranty service. DIY repairs produce no comparable record.
The Bottom Line
The DIY-vs-professional question for garage doors is a scope decision, not a skill decision. Lubrication, seal replacement, and opener limit adjustment are homeowner-appropriate and cost-effective. Any work involving torsion springs, cables under tension, or structural modification carries injury risk and documentation requirements that invalidate DIY savings. In Redmond’s climate, professional inspection every 2-3 years catches wear patterns that annual homeowner maintenance won’t. When you do call a professional, the choice of who matters: look for written upfront pricing, documented photo records, and a warranty backed by terms, not a handshake. Servo Garage Doors Redmond has operated under The Haven Standard since 2015, with 18,000+ repairs and installations, every one with a written price before work started and a photo record when the technician left. Browse more guides & resources on garage door care and Redmond home maintenance.
Written by Marcus Deller, Owner at Servo Garage Doors Redmond, serving Redmond since 2015.