
Last updated September 21, 2026
Full 25-point door and opener safety check with every visit - springs, cables, rollers, tracks, and your LiftMaster or Chamberlain opener included
You get a price before we start. It does not change when the truck arrives.
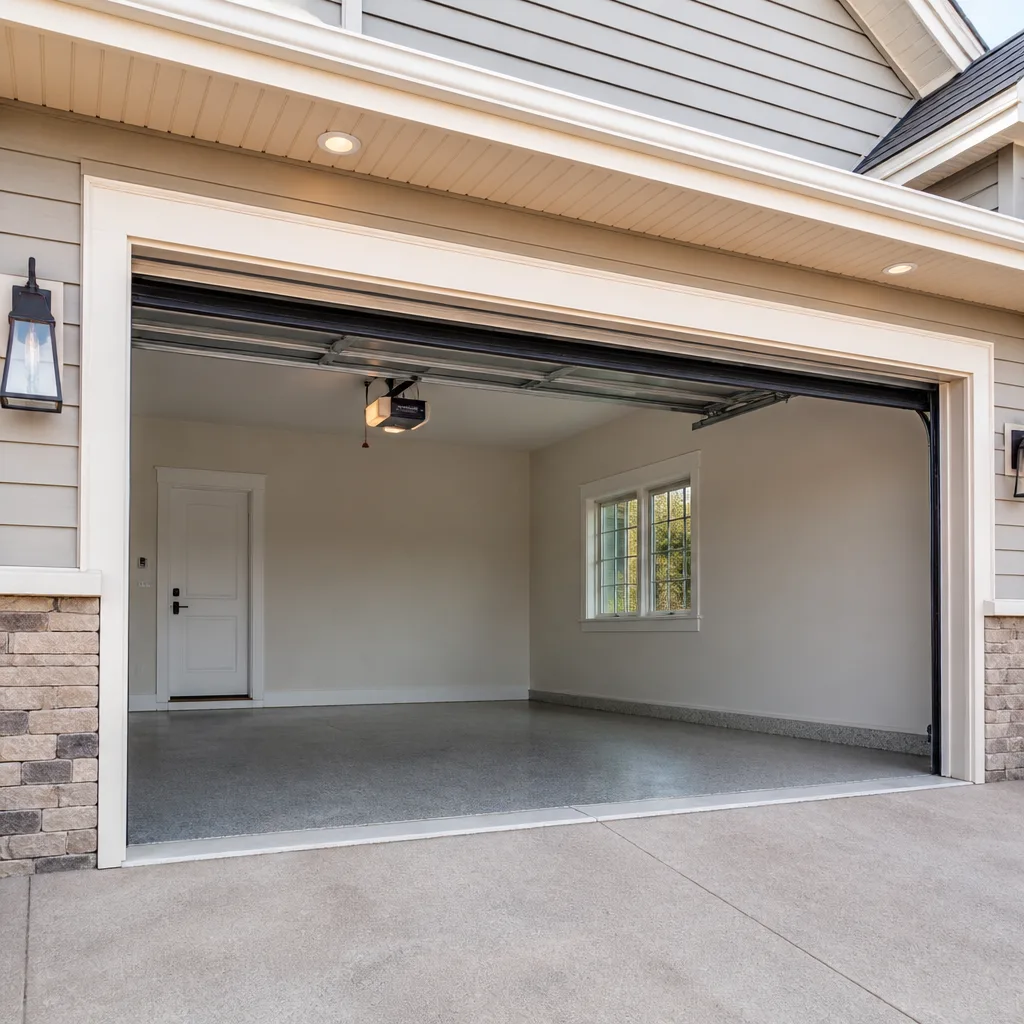
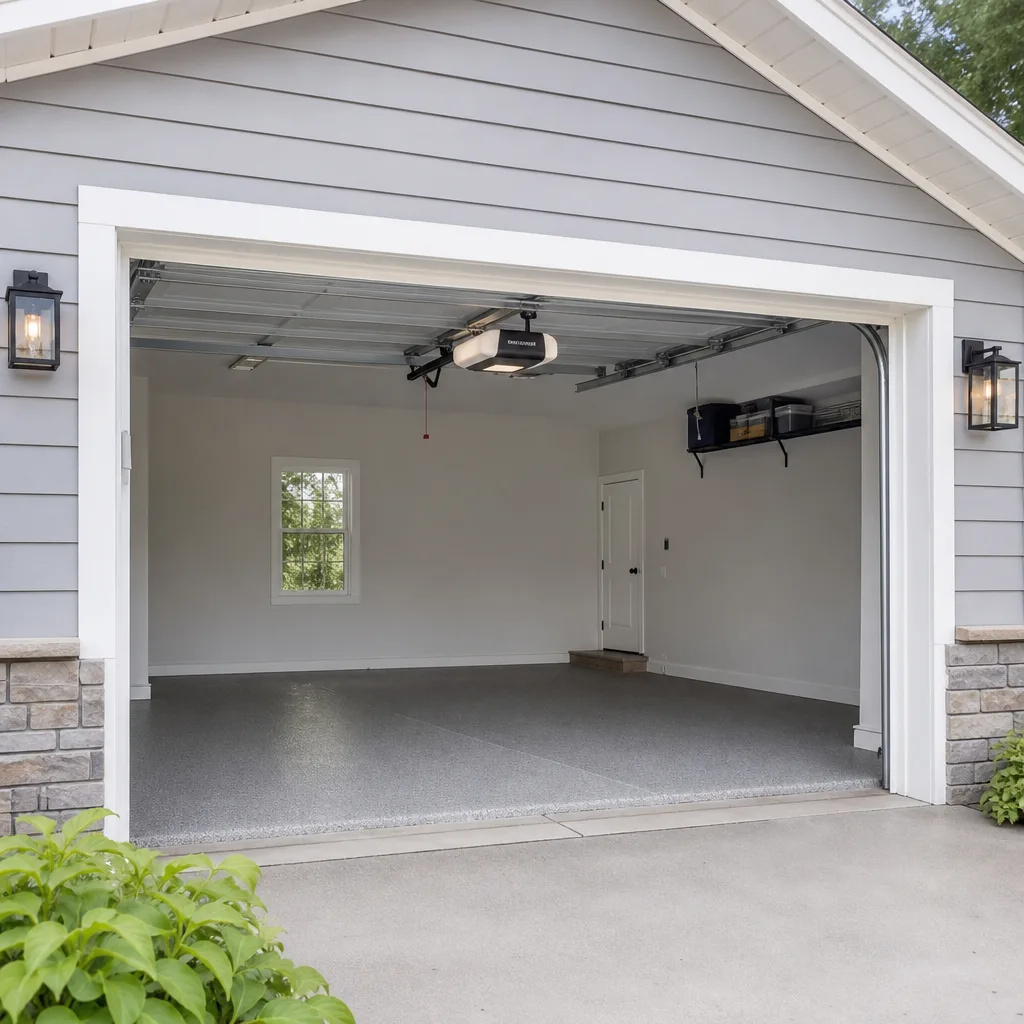
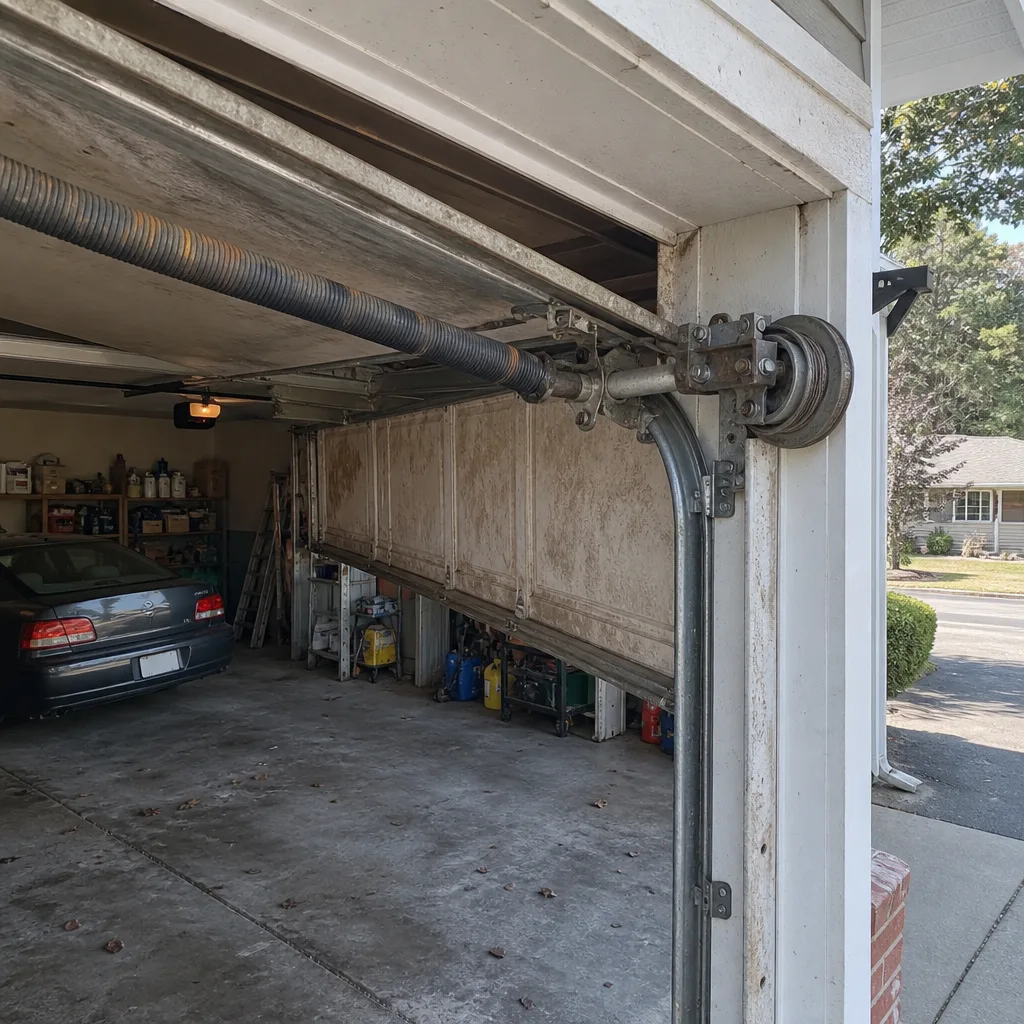 Before
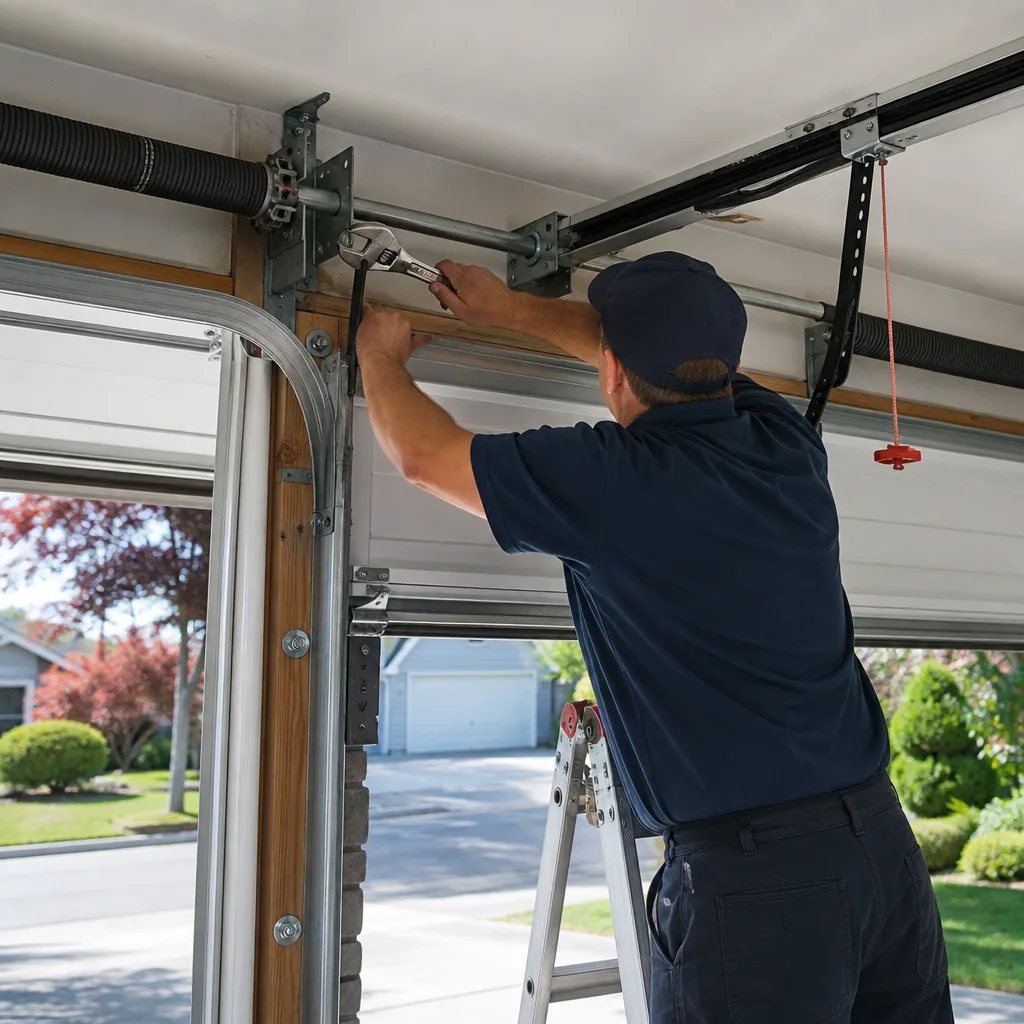 After
After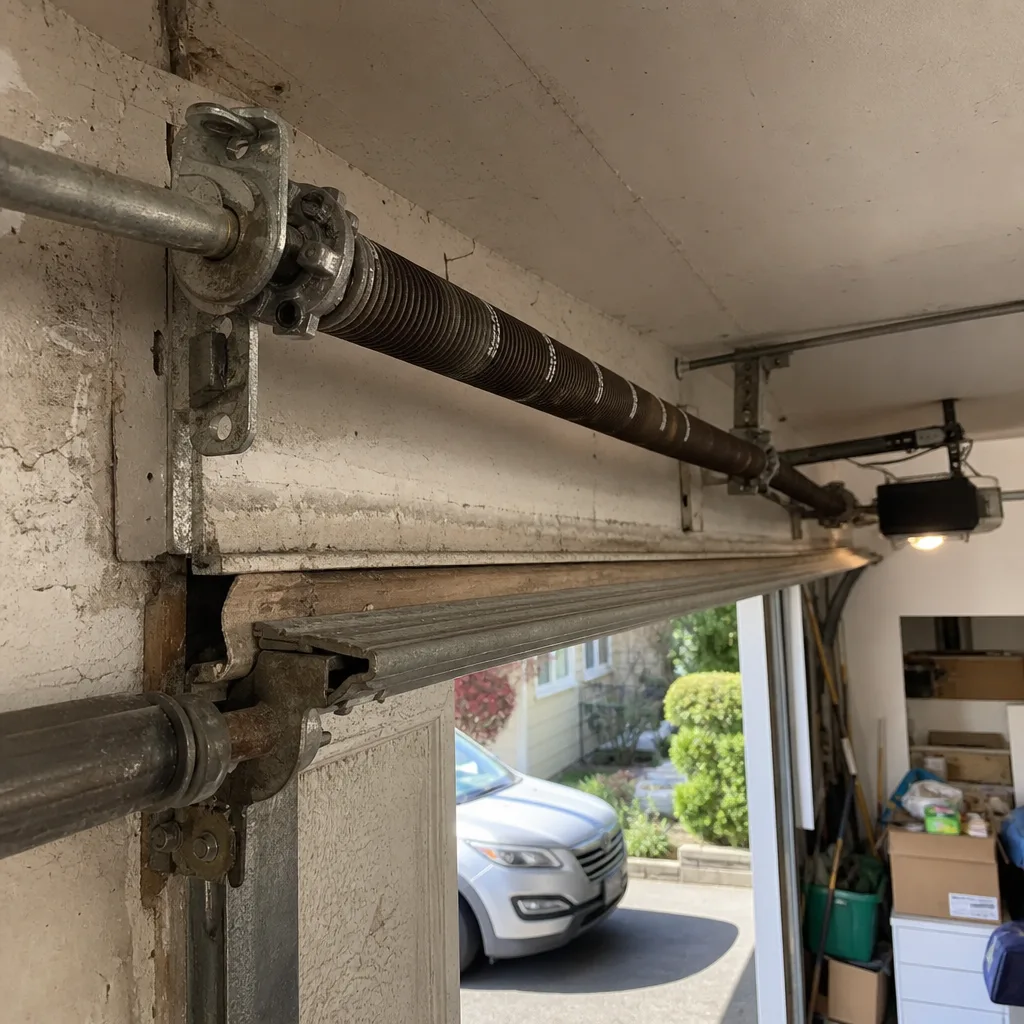 Before
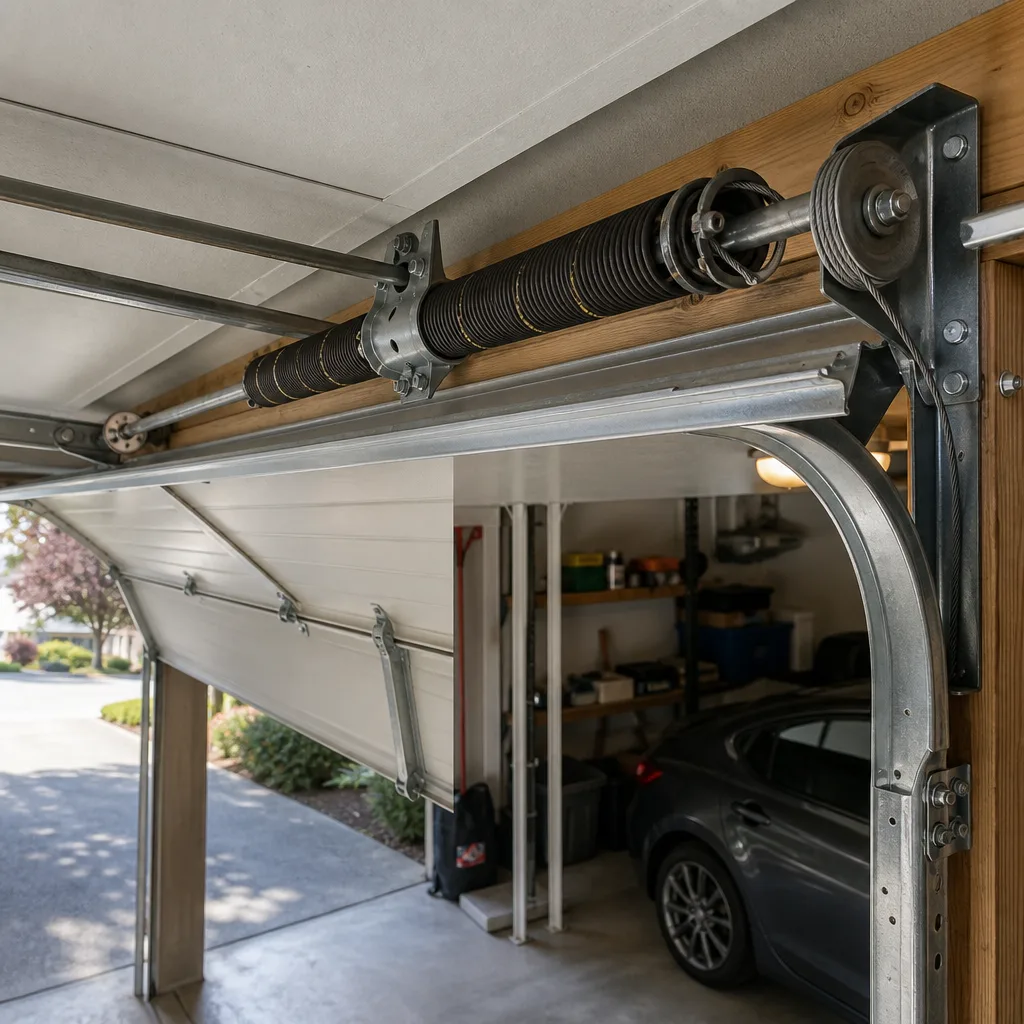 After
After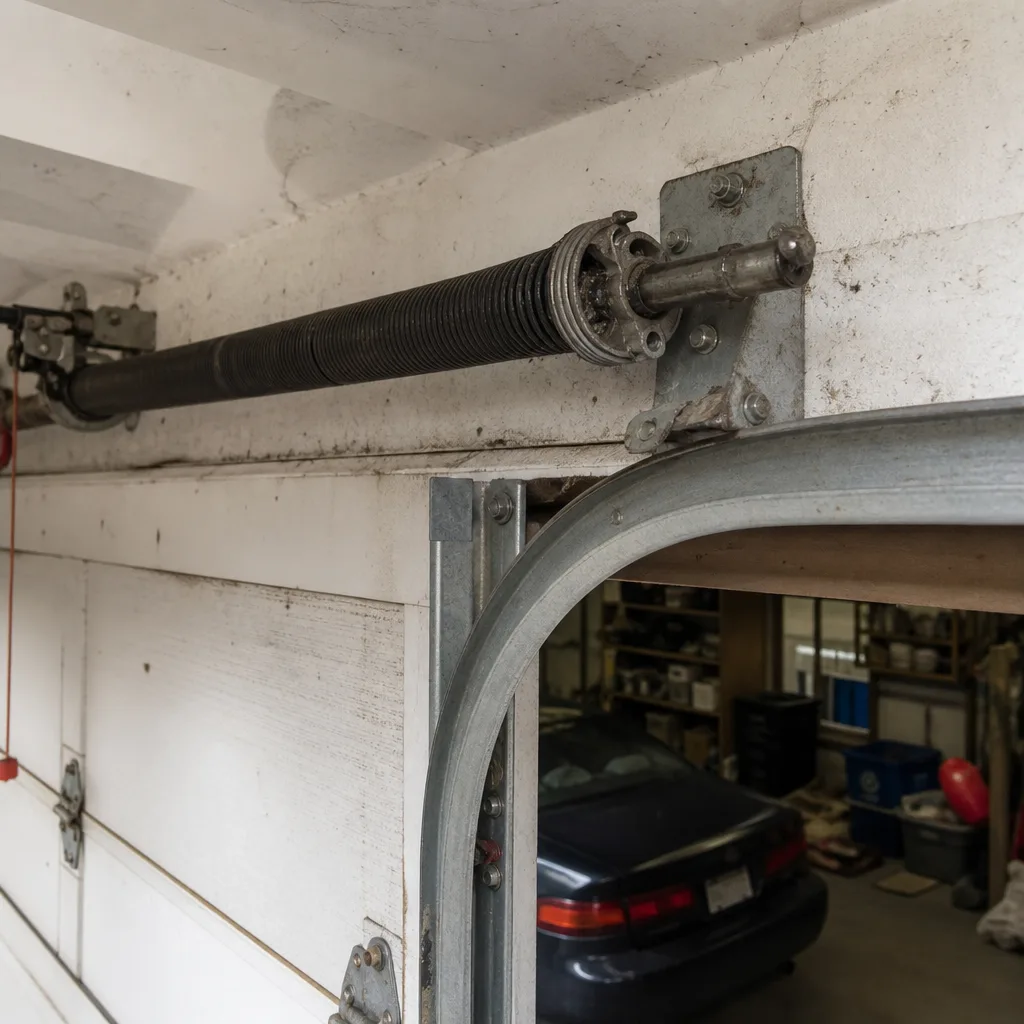 Before
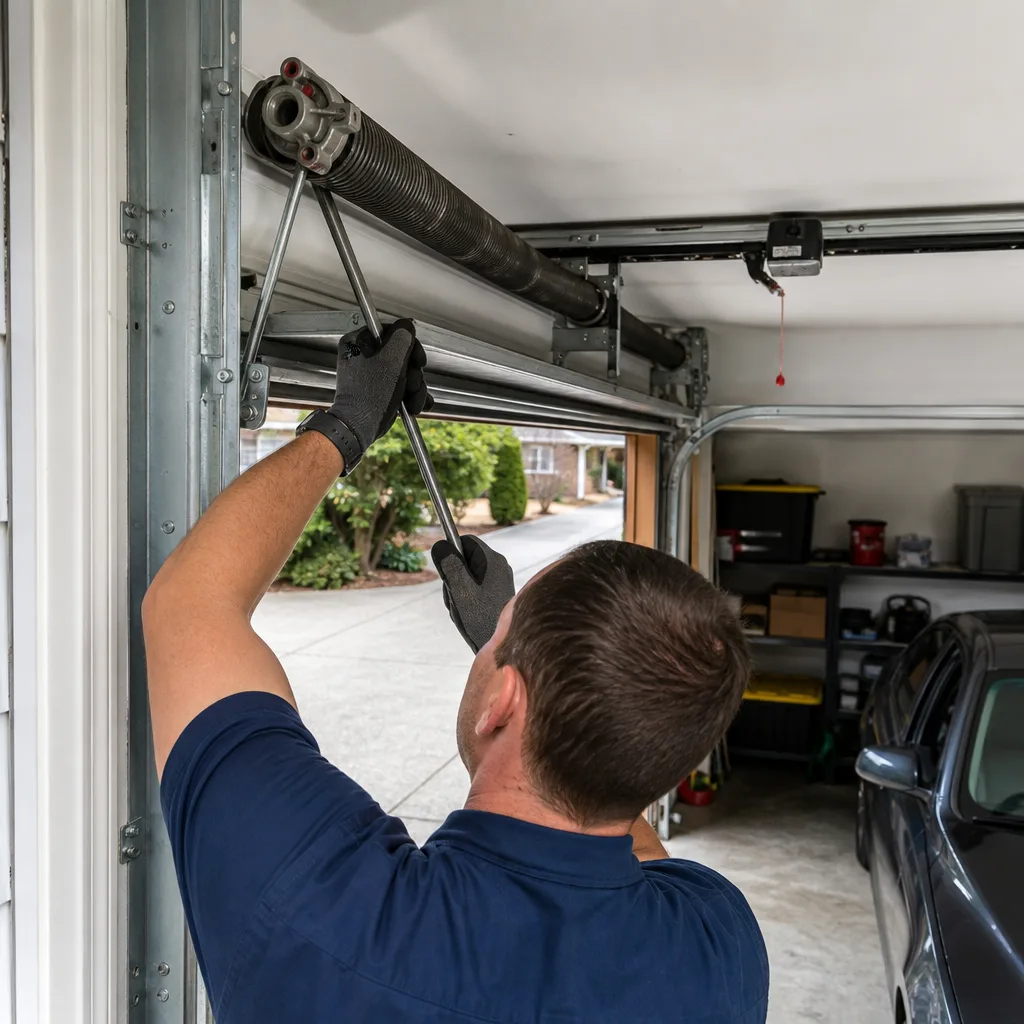 After
AfterGarage Door Repair Maintenance Checklist for Redmond Homeowners
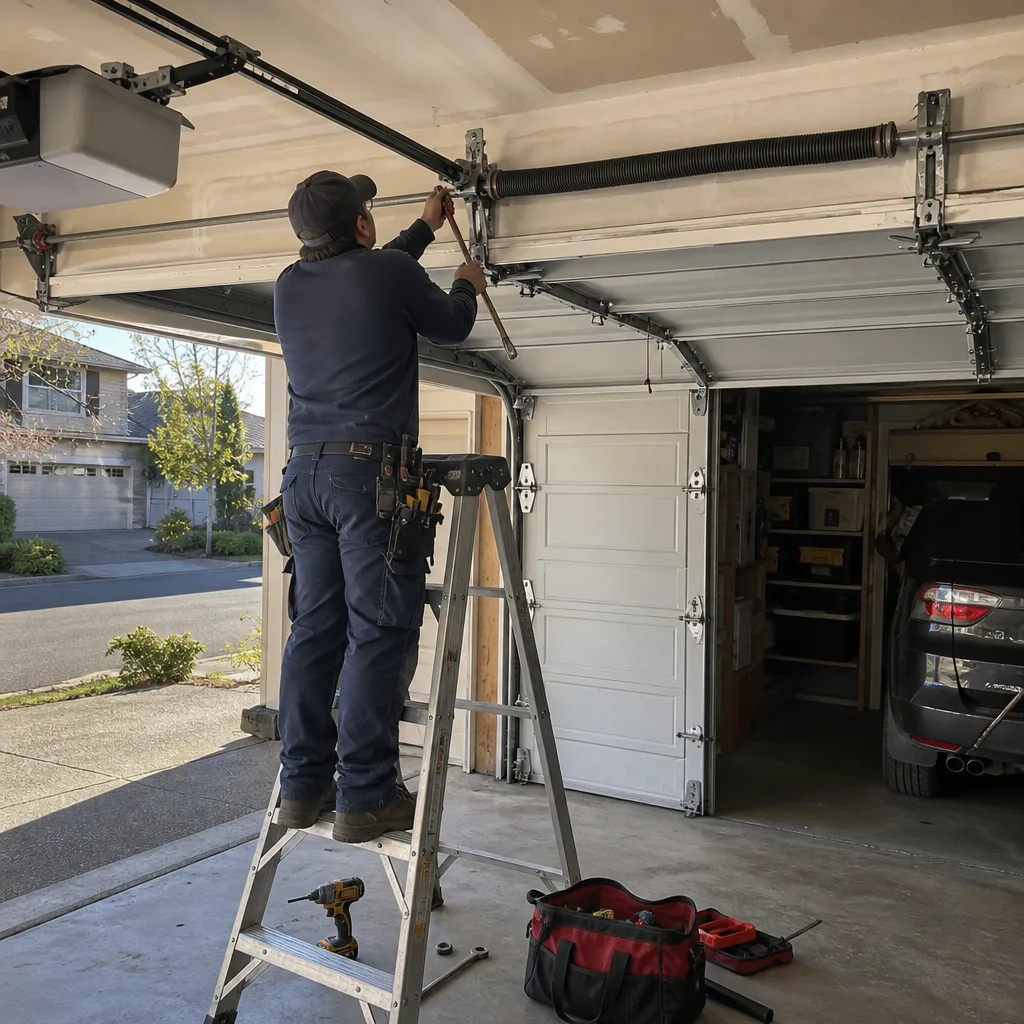
Torsion spring manufacturers rate their product at 10,000 cycles, but a Redmond homeowner who uses the garage as the primary entry point logs roughly 1,500 cycles per year. That “seven-year spring” has a real lifespan closer to six, and the gap between rating and reality widens when you factor in Redmond’s humidity swings, road salt tracked in off State Route 520, and the temperature differentials that fatigue metal faster than lab conditions predict. This guide gives you a month-by-month maintenance calendar built around those specific failure modes, plus the inspection protocol we use to document component condition before we quote any garage door repair.
Quick Answer
Redmond homeowners should perform monthly visual inspections of cables, rollers, and springs; lubricate steel hinges and torsion springs with lithium-based grease every three months; test door balance twice yearly; and schedule professional service annually before November rains accelerate corrosion. Document each inspection with dated photos to track degradation and catch failures before they strand your vehicle.
Table of Contents
- Why Redmond Garages Fail Differently
- Month-by-Month Maintenance Calendar
- The Correct Lubrication Protocol
- How to Test Door Balance and Read the Results
- Cable Inspection: What Fraying Looks Like at Each Stage
- Photo Documentation Protocol for Homeowners
- Garage Door Opener Maintenance
- Common Mistakes to Avoid
- When to Call a Professional
- Frequently Asked Questions
- The Bottom Line
 Before
 After
AfterWhy Redmond Garages Fail Differently
Generic maintenance checklists treat every climate the same. They aren’t wrong, but they miss the failure patterns we see most often in Redmond service calls. For garage door warning signs: a Redmond homeowner’s reference guide, see our dedicated post.
Road salt corrosion. Redmond’s proximity to SR 520 and I-405 means de-icing compounds collect on vehicles through winter and get parked in garages. The chloride residue doesn’t just sit on the concrete; it becomes airborne as humidity fluctuates, settling on torsion springs, cable drums, and bottom brackets. We’ve photographed pitting on torsion springs in Redmond homes that were barely five years old, where the same spring spec in a drier eastern Washington climate showed clean metal at eight years.
Humidity-driven cable fraying. Redmond’s average relative humidity hovers near 75% November through March. Steel cables between the bottom bracket and drum absorb that moisture, especially in unheated garages. The individual wire strands oxidize from the inside out, so the outer sheath can look intact while internal degradation has already passed 60%.
Temperature swing fatigue. A typical January day in Redmond might start at 34°F and peak at 48°F. That 14-degree swing happens while the garage door cycles through morning departures and evening returns. Torsion springs are essentially tightly wound metal that flexes with every cycle; thermal expansion and contraction add micro-stress that manufacturer’s 10,000-cycle ratings don’t fully account for in maritime climates.
Primary-entry cycling. This isn’t climate, but it’s Redmond-specific demographically. Homes built 2015-2025 in neighborhoods like Education Hill, Bear Creek, and Redmond Ridge were designed with garages as the primary entry point. Mud rooms, package deliveries, and work-from-home schedules mean some doors cycle six to eight times daily. At that rate, the theoretical seven-year spring becomes a five-year reality.
Month-by-Month Maintenance Calendar
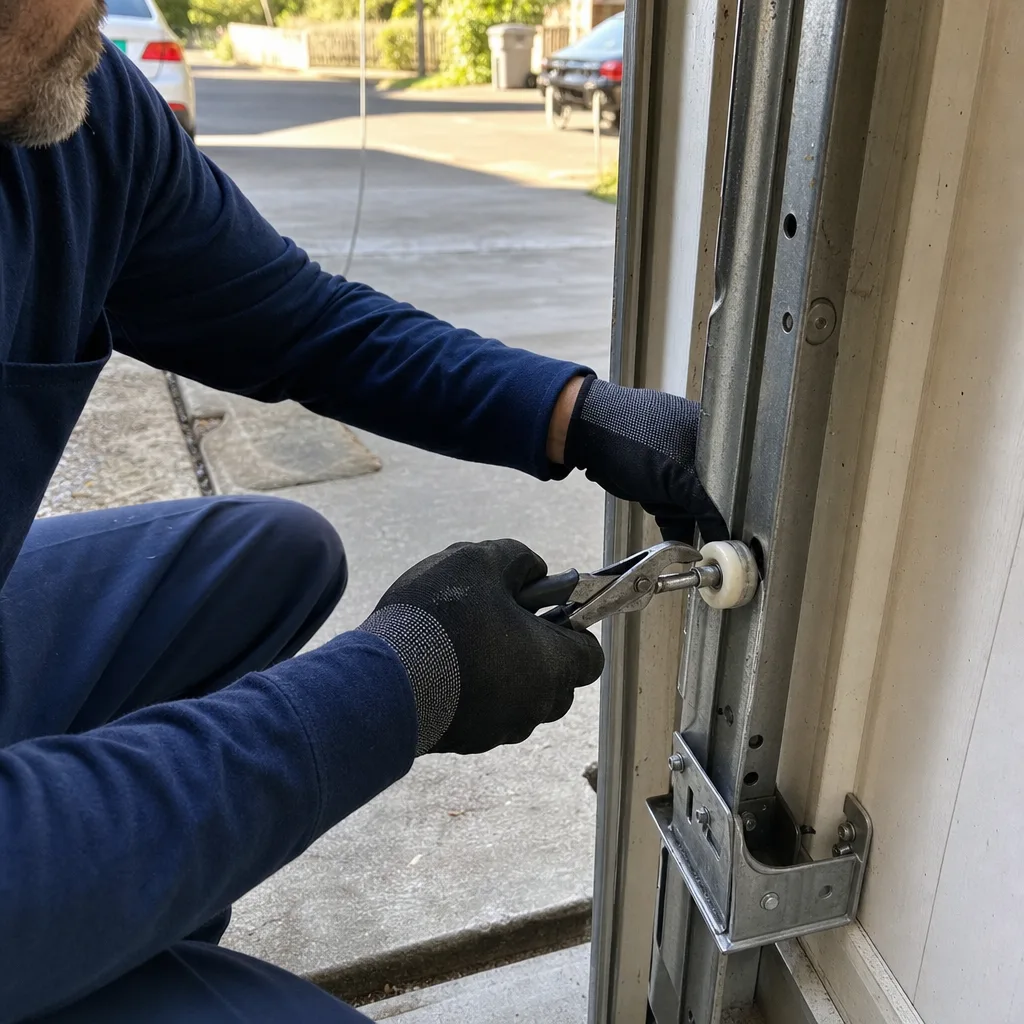
We’ve organized tasks around Redmond’s actual weather pattern, not generic seasonal buckets. The goal is to front-load preventive work before the damaging season, not react after it starts.
January-February: Deep Winter Inspection
Post-holiday delivery season is over. The door has cycled heavily, and corrosion from December’s road salt is active.
- Inspect bottom brackets and cable attachment points for white chloride residue or rust bloom.
- Run the door fully up and down, listening for new squeals or grinding that weren’t present in November.
- Check weatherstripping along the bottom seal for hardening or cracking; cold makes brittle rubber worse.
- Verify safety reverse function: place a 2×4 flat on the floor centered under the door path. The door must reverse on contact.
March-April: Spring Transition
Temperature swings peak. Spring tension changes with metal expansion.
- Perform the door balance test (detailed in the next section).
- Lubricate torsion spring, steel hinges, and roller bearings with lithium-based grease.
- Inspect nylon rollers for flat spots or cracking; replace if the wheel doesn’t spin freely by hand.
- Clear track interior of accumulated grit from winter; wipe with a dry cloth, don’t lubricate the track itself.
May-June: Pre-Dry Season
Before Redmond’s driest months, establish your documentation baseline.
- Take dated photos of cables, springs, and rollers for year-over-year comparison.
- Test garage door opener force settings; dry weather can shift sensitivity on older Chamberlain and Genie units.
- Inspect photo eyes for misalignment; spring growth in planting beds can bump sensors out of position.
July-August: Peak Dry Season
Minimal maintenance, maximum observation.
- Listen for changes in opener motor strain; dry heat can reveal developing mechanical issues.
- Check for gaps in weatherstripping where cool conditioned air escapes; this is when they’re most obvious.
- Monitor for pest intrusion; dry months drive rodents to seek garage shelter, and they chew wiring.
September-October: Pre-Winter Preparation
The critical window. Everything you do now prevents November emergency calls.
- Full lubrication cycle on all steel-to-steel contact points.
- Professional inspection if any component showed degradation in your photo comparison.
- Test backup battery on opener; winter power outages are common in Redmond’s tree-lined neighborhoods.
- Clear drains and grading around garage foundation; November rains pool quickly in low spots near door frames.
November-December: Wet Season Monitoring
Corrosion accelerates. Vigilance matters more than intervention.
- Weekly visual checks of spring and cable condition; moisture makes hidden damage visible faster.
- Wipe down bottom brackets if road salt residue is visible.
- Monitor door operation after cold snaps; sluggish response can indicate opener logic board temperature sensitivity.
The Correct Lubrication Protocol
Most garage door damage from homeowner maintenance comes from using the wrong lubricant at the wrong interval. Here’s what we specify in Redmond’s climate.
What to use: White lithium-based grease or a dedicated garage door lubricant rated for metal-to-metal contact. These products cling to vertical surfaces, resist wash-off from humidity, and don’t attract particulate grit.
What never to use: WD-40. It displaces water temporarily, then evaporates, leaving a thin film that actually attracts dust and accelerates wear. We’ve replaced nylon rollers in Redmond homes where WD-40 dissolved the bearing grease and the wheel seized within six months. On torsion springs, it provides no lasting lubrication and can mask developing corrosion.
Lubrication points and intervals:
- Torsion spring: Every three months. Apply a light coat across the full coil length; the lubricant reduces coil-on-coil friction that generates heat and accelerates metal fatigue.
- Steel hinges: Every three months. Pivot points only; don’t flood the hinge.
- Roller bearings (steel wheels): Every six months. One drop per bearing, spin the wheel to distribute.
- Track interior: Never. Lubricant in the track collects grit and creates a grinding paste. The track guides; it doesn’t need lubrication.
- Chain or screw drive: Annually, using manufacturer-specified lubricant. LiftMaster and Chamberlain openers specify different products for chain versus belt drives.
- Nylon rollers: Never. The bearings are sealed; external lubrication degrades the seal and washes out internal grease.
Application technique: Run the door to the fully open position. This relaxes torsion spring tension and exposes hinge pivot points. Apply lubricant sparingly; excess drips onto vehicles and collects airborne salt. Cycle the door twice after application to distribute. Wipe excess with a clean rag.
How to Test Door Balance and Read the Results
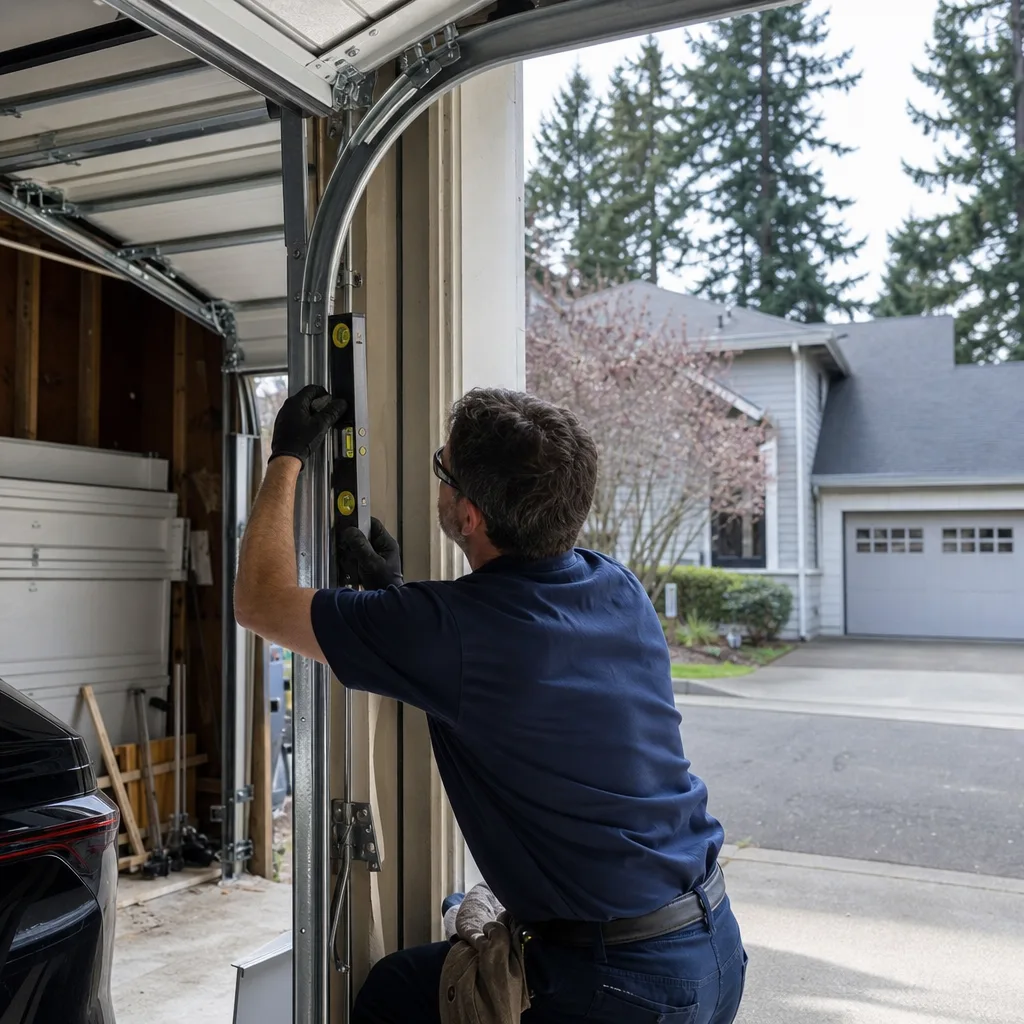
An unbalanced door overloads the opener, strains cables unevenly, and is often the first visible sign of spring degradation. This test takes two minutes and requires no tools.
- Close the door fully.
- Pull the red emergency release cord to disengage the trolley carriage from the opener rail.
- Manually lift the door to the halfway-open position (bottom of door at waist height).
- Release the door smoothly.
What the door does next tells you everything:
- Stays in place: Properly balanced. Spring tension matches door weight.
- Drifts down more than two inches: Spring tension is insufficient. The spring has lost torque through metal fatigue or elongation. Continuing to operate strains the opener motor and risks cable jump-off from uneven drum winding.
- Drifts up more than two inches: Excess spring tension. Less common, but dangerous; the door can slam shut unexpectedly if the opener disengages.
- Falls rapidly or won’t stay at any position: Spring failure imminent or cable damage. Stop operating immediately.
In Redmond, we see drift-down more frequently than other regions because humidity corrosion weakens springs from the surface inward, reducing effective wire diameter and thus torque capacity. A door that passed this test in May might fail it by November after six months of chloride exposure.
Safety note: Torsion springs store substantial mechanical energy. If your balance test indicates spring issues, do not attempt adjustment. The winding cone requires specialized tools and training; improper handling causes serious injury. This is a diagnostic test, not a repair procedure.
Cable Inspection: What Fraying Looks Like at Each Stage
Cable failure is the most dangerous common garage door failure mode. A frayed cable under load can snap without warning, and the stored energy releases violently. Here’s how to read cable condition before it reaches that point.
Where to look: Inspect the full cable length from bottom bracket attachment to drum wrap, paying special attention to the section that bends around the drum (highest flex point) and the lower six inches near the bottom bracket (highest corrosion exposure from floor moisture and salt).
Stage 1: 0-30% degradation. Individual wire strands show slight discoloration or surface rust. The cable maintains its smooth cylindrical profile. You might notice one or two broken strands at the bottom bracket clamp point. Action: photograph, monitor monthly, plan replacement within 12 months.
Stage 2: 30-60% degradation. Multiple broken strands visible. The cable surface develops a “fuzzy” or bristled texture as individual wires protrude. Cross-section is no longer perfectly round. The cable may show localized narrowing (necking) where internal strands have failed under load. Action: stop using the door for anything but emergency exit, schedule replacement within two weeks. This is the stage where we document with photos under Clause 4 of Servo Garage Doors Redmond home - the customer sees exactly what we found.
Stage 3: 60-90% degradation. Significant strand loss visible to casual inspection. The cable appears flattened or distorted in section. You may hear popping or creaking during operation as remaining strands shift under load. Action: do not operate. The cable is holding by a fraction of its design strength. Call for emergency service.
Stage 4: Near-failure. Visible gaps in the cable weave, or a “bird-caging” effect where the outer layer has loosened from the core. Any operation risks immediate failure. Action: secure the door in the closed position with clamps on the track, do not use, call immediately.
Critical Redmond factor: Cables in garages near 520 or in neighborhoods with newer construction (Redmond Ridge, Trilogy) fail from the inside out due to salt exposure. The outer sheath can look acceptable at stage 2 while internal degradation has reached stage 3. This is why we photograph the cable cross-section where possible, and why your own photo documentation should include close-ups of the cut end if a professional has previously replaced cables.
Photo Documentation Protocol for Homeowners
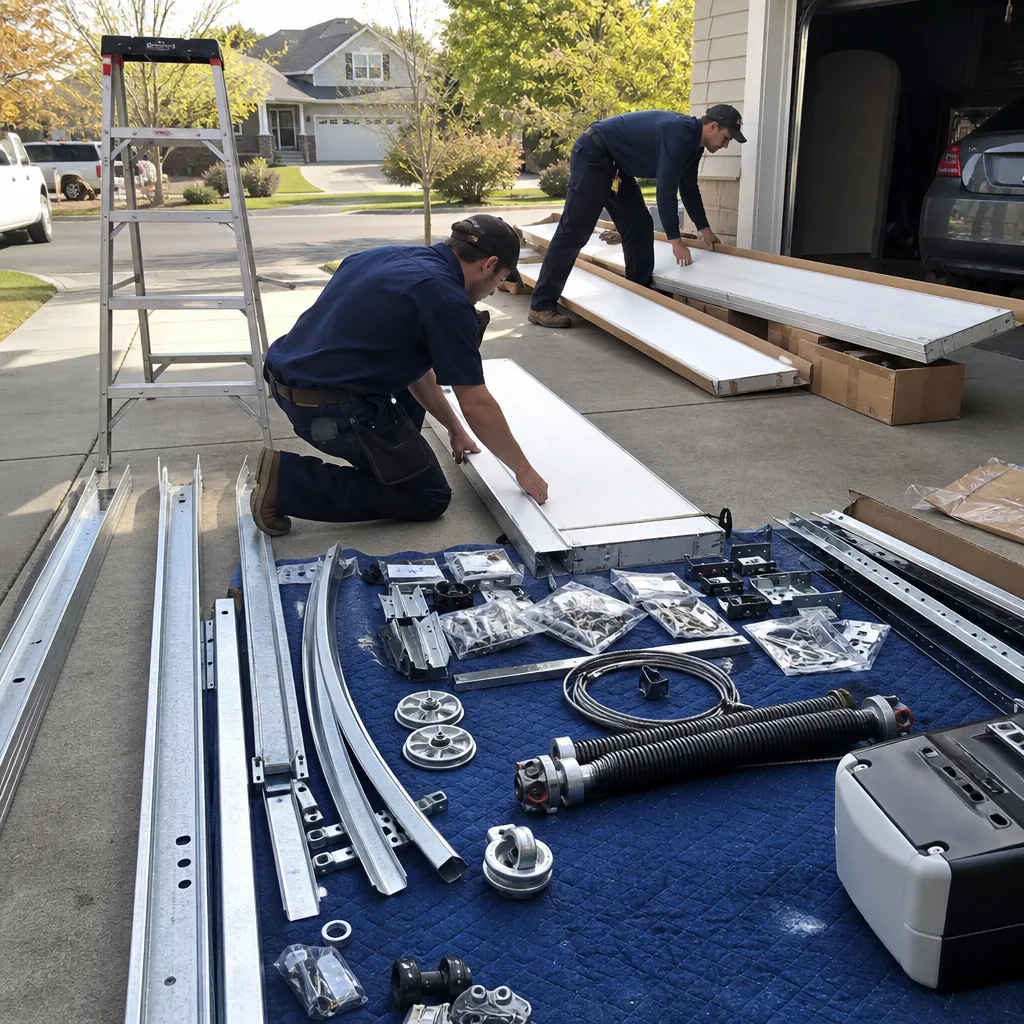
Servo was built on a founding rule: the customer sees the failed part before anyone quotes a replacement. We’ve extended that protocol into The Haven Standard, and homeowners can adapt the same discipline for their own maintenance records.
What to photograph, when, and how:
- Torsion spring: Full length, close enough to show coil spacing and surface condition. Date stamp required. Same angle every time; we suggest from the left side of the door, looking toward the right spring cone.
- Cables: Three shots: full length, drum wrap section, bottom bracket attachment. Use your phone’s macro mode if available for strand detail.
- Rollers: One per roller type (steel vs. nylon), showing wheel condition and stem attachment.
- Bottom brackets and track: Wide shot showing alignment and hardware condition.
- Opener rail and trolley: Full rail length, showing belt/chain tension and trolley position.
Storage: Create a dedicated album per door. Name photos: “2025-03-15_Spring_Left.jpg” format. Cloud backup; these are evidence if a warranty claim or insurance dispute arises.
Comparison protocol: Annually, overlay current photos with prior year in split-screen. Look for: increased coil gap in springs (indicates elongation), new rust spots, cable diameter reduction, roller wheel flattening. The human eye detects change better than it judges absolute condition.
This documentation transforms vague unease into actionable data. When you call Garage Door Repair in Redmond, you can describe what you’ve observed with specificity, and you’ll recognize whether the technician’s findings match your own records.
Garage Door Opener Maintenance
Opener maintenance is often neglected because the door still moves even when the opener is struggling. Strain manifests as premature failure of the motor, logic board, or drive components.
Monthly: Test safety systems. The 2×4 reverse test (described in January tasks) and the photo-eye test: start the door closing, pass a broom handle through the beam. The door must reverse within two seconds.
Quarterly: Listen to the motor. A LiftMaster or Chamberlain belt drive should operate at consistent pitch. Grinding, straining, or pitch variation indicates the door is out of balance or the drive gear is wearing. Genie screw drives require specific lubricant on the screw; check for dry spots or black residue indicating worn carriage.
Annually: Inspect the trolley carriage for cracks, especially on older units. Check wall button and remote battery function. Test the backup battery; Redmond’s mature-tree neighborhoods see more power interruptions than new construction areas, and a failed battery means a manually lifted door if the power fails with the door closed.
Logic board vulnerability: Modern openers with Wi-Fi connectivity (MyQ-equipped LiftMaster units, for example) have logic boards sensitive to power fluctuation. A surge protector on the opener outlet is cheap insurance against a $200+ board replacement. We’ve replaced more logic boards in Redmond after winter storms than from any other cause.
For opener replacement or upgrade, Garage Door Opener Repair & Installation in Redmond covers current models and compatibility with existing door hardware.
Common Mistakes to Avoid
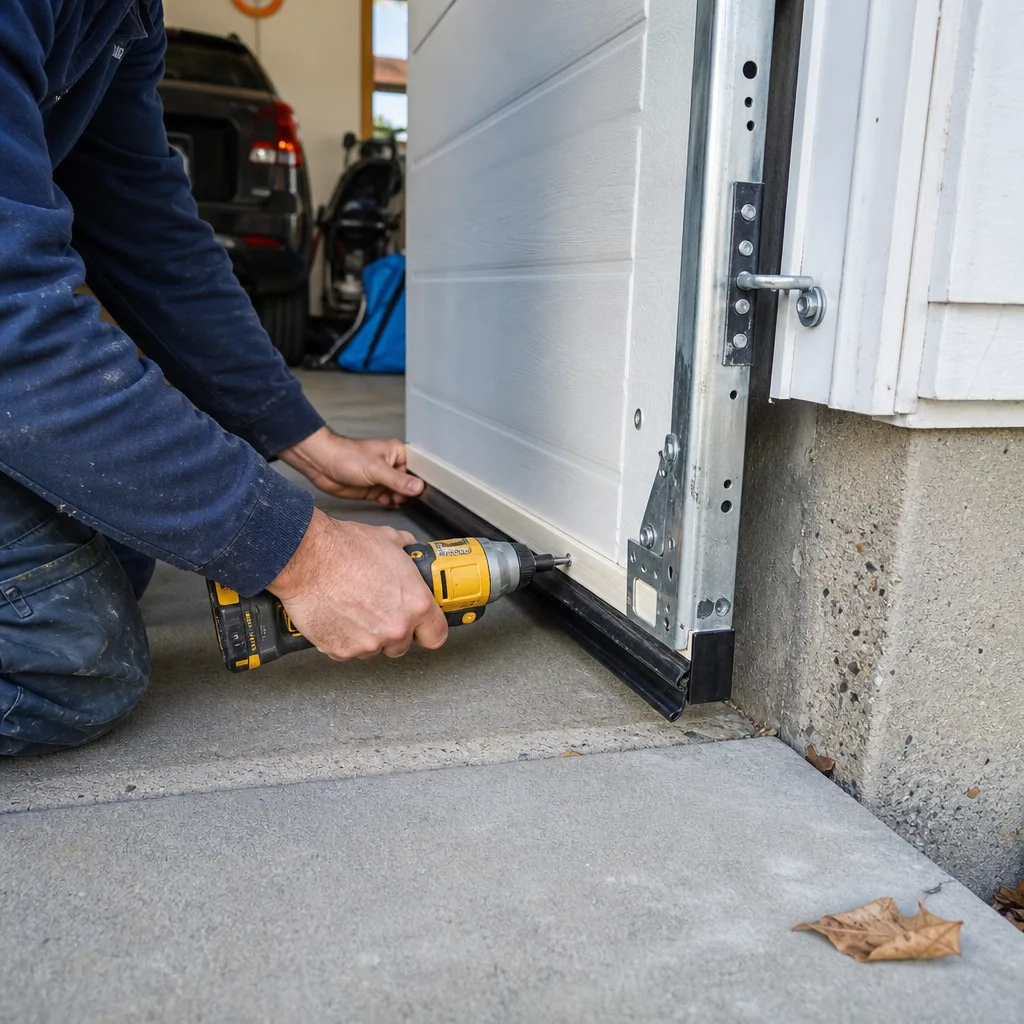
- Using WD-40 on any garage door component. It displaces water briefly, then evaporates and leaves a residue that attracts grit. We’ve replaced prematurely failed components in Redmond homes where WD-40 was the only “maintenance” performed.
- Lubricating the track. The track guides rollers; it doesn’t need lubrication. Grease in the track mixes with airborne dust and salt, creating an abrasive paste that wears rollers and distorts door alignment.
- Ignoring a door that reverses for no apparent reason. This usually indicates binding in the track or opener force settings out of spec, not a ghost in the machine. Continuing to operate worsens the underlying problem.
- Testing the emergency release with the door open. The release is designed for power-outage exit with the door closed. Pulling it with the door raised and no spring tension can cause uncontrolled descent.
- Assuming a quiet door is a healthy door. Nylon rollers fail silently; the wheel simply stops rotating and slides. By the time noise develops, the track or door panel may be damaged from the sliding contact.
- Skipping documentation because “it looks fine.” Component degradation is incremental. Without dated photos, you cannot distinguish this year’s normal from last year’s warning sign. This is why Clause 4 of The Haven Standard requires photographic evidence, not technician memory.
- Delaying professional inspection after any balance test failure. An unbalanced door doesn’t fix itself. The opener compensates until it can’t, then fails expensively.
When to Call a Professional
Some maintenance is homeowner-appropriate. Some is not. For how to hire a garage door contractor in Redmond: a step-by-step guide, see our resource. Call for professional service when you encounter:
- Any cable fraying beyond stage 1 (single broken strand at clamp point)
- Door balance test failure (drift beyond two inches)
- Torsion spring corrosion, pitting, or coil separation
- Opener motor straining, overheating, or inconsistent operation
- Track damage, bending, or mounting bracket loosening
- Any door that has been struck by a vehicle, even if it still operates
Servo Garage Doors Redmond offers free estimates in Redmond. Every visit includes a documented photo record of findings, a flat written price before any work begins per Clause 1 of The Haven Standard, and the 365-Day Done Right Promise. Call (425) 305-4847 or schedule through our site. For new door systems or full replacement, see Garage Door Installation in Redmond.
Frequently Asked Questions
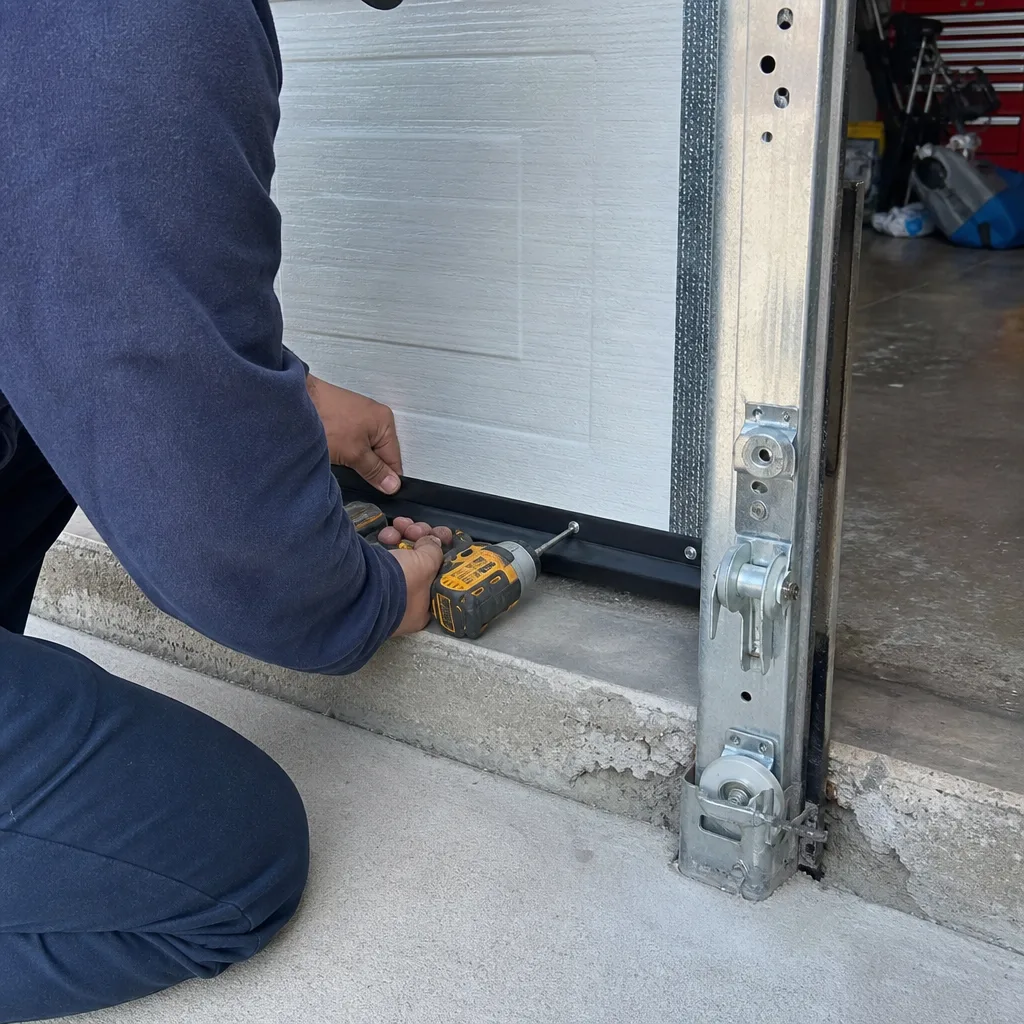
A standard maintenance and safety inspection in Redmond typically runs $89-$149, depending on door size and accessibility. Servo provides a flat, written price before any work starts, and our inspection includes the documented photo record specified in Clause 4 of The Haven Standard. For more guides & resources, explore our blog. Call (425) 305-4847 for an exact quote - estimates are free.
Torsion springs and steel hinges need lithium-based grease every three months in Redmond; the humidity and salt exposure from SR 520 accelerate wash-off and corrosion compared to drier inland climates. Nylon rollers never need lubrication. Chain or screw drives require annual service with manufacturer-specified product.
No. Torsion springs store lethal mechanical energy. Winding and unwinding require specialized tools, training, and physical technique that cannot be safely learned from video. Every year, emergency rooms treat homeowners who attempted DIY spring replacement. This is not a cost-saving opportunity; it’s a risk that trades a service fee for potential serious injury. Call a professional.
Temperature contraction reduces spring torque, and humidity swells door seals increasing friction. In Redmond, the combination of cold snaps and high humidity is particularly hard on opener force settings calibrated in warmer months. If your door shows seasonal variation, the springs are likely near the end of their effective service life and compensating for reduced torque.
A quality steel door with standard 10,000-cycle springs should last 15-20 years for the door itself, but the spring system may need replacement every 5-7 years under primary-entry use. In Redmond’s climate, we’ve seen springs fail at four years in homes near major roads with heavy salt exposure. Clopay and Amarr doors with composite construction resist humidity-related skin separation better than basic steel in our climate.
Do not operate the door. A single broken cable throws the full door weight onto the remaining cable, which is now overloaded and likely to fail. The door may also jam in the tracks or fall uncontrolled. Secure the door closed with C-clamps on the track if necessary for security, and call for emergency service. Mention the cable failure when you call; we dispatch with the correct replacement cable already on the truck.
The Bottom Line
Redmond’s garage doors face a specific set of stressors: road salt corrosion, humidity-driven cable degradation, and temperature-swing fatigue on springs already undersized for primary-entry cycling. A generic “spring and fall” maintenance approach misses the window for preventive action. The homeowners who avoid emergency calls are those who inspect monthly, lubricate correctly on a quarterly schedule, test balance twice yearly, and document everything with dated photos. When degradation appears, they have evidence, not anxiety. And when they call for professional service, they know exactly what to expect: a flat written price before any work starts, a documented photo record of what was found, and a repair backed by the 365-Day Done Right Promise. That’s The Haven Standard. It’s how we’ve made right on 18,000+ garage doors since 2015.
Written by Marcus Deller, Owner at Servo Garage Doors Redmond, serving Redmond since 2015.