
Last updated September 21, 2026
Full 25-point door and opener safety check with every visit - springs, cables, rollers, tracks, and your LiftMaster or Chamberlain opener included
You get a price before we start. It does not change when the truck arrives.
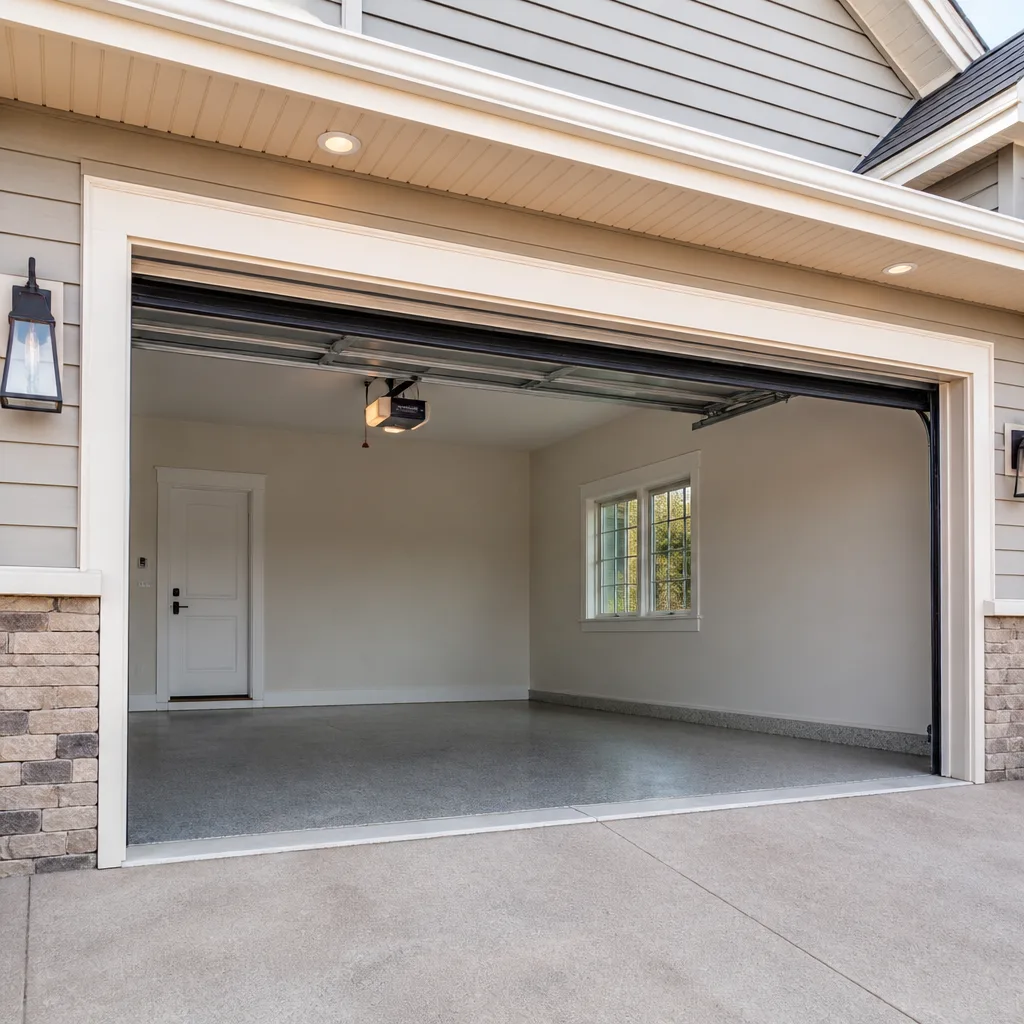
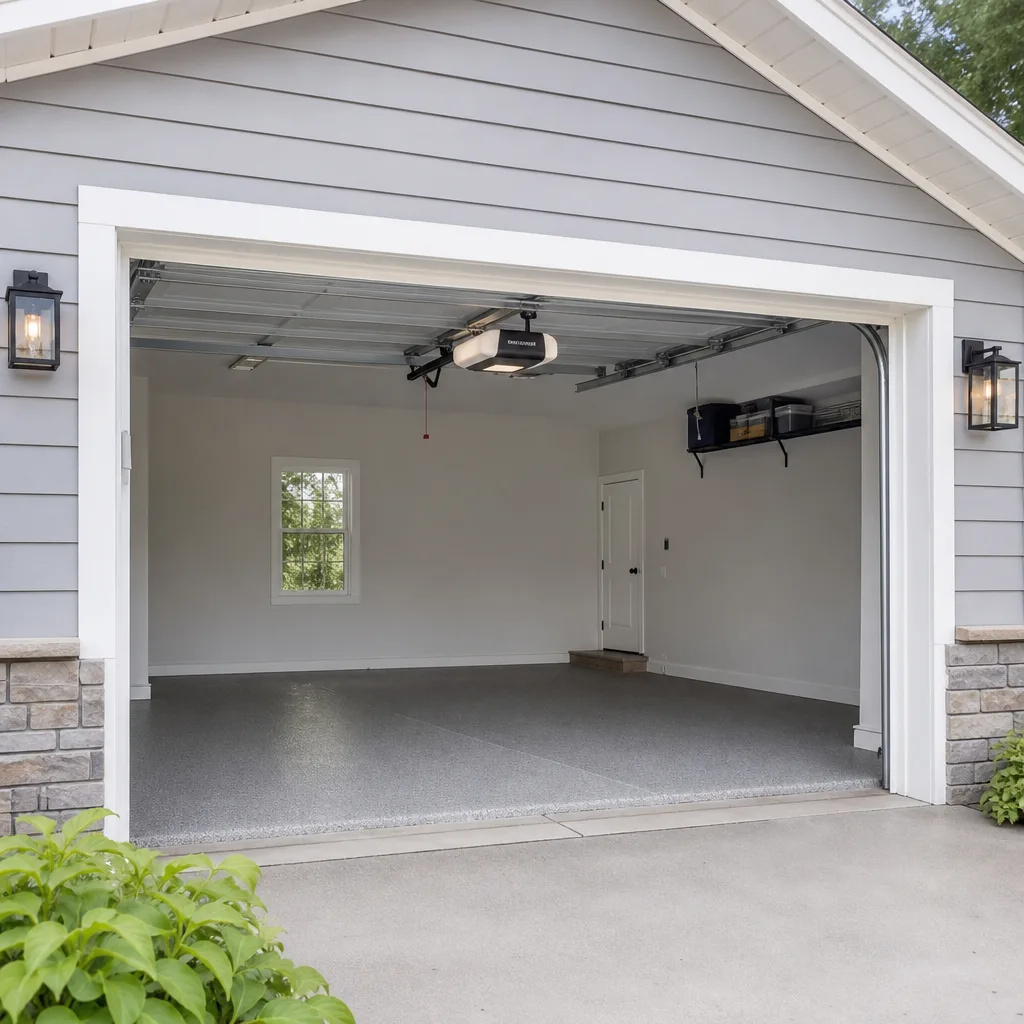
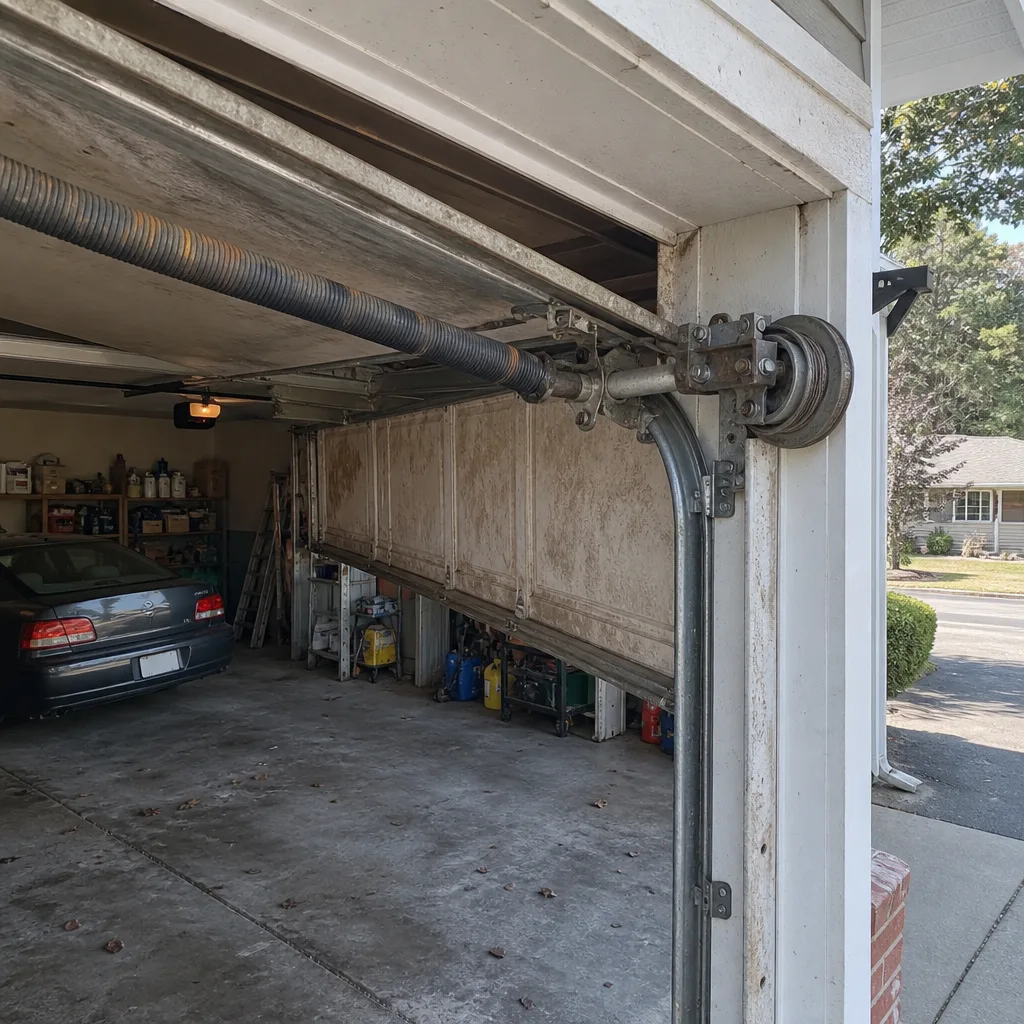 Before
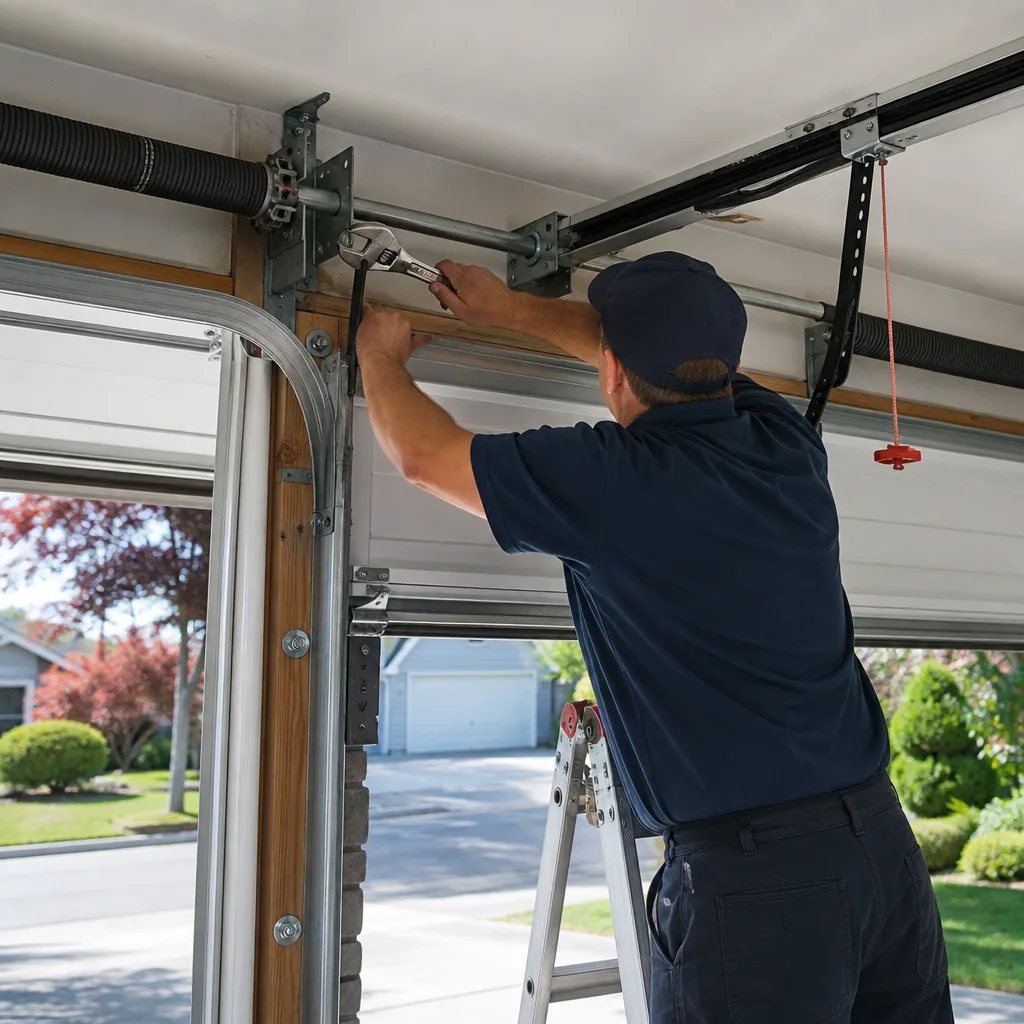 After
After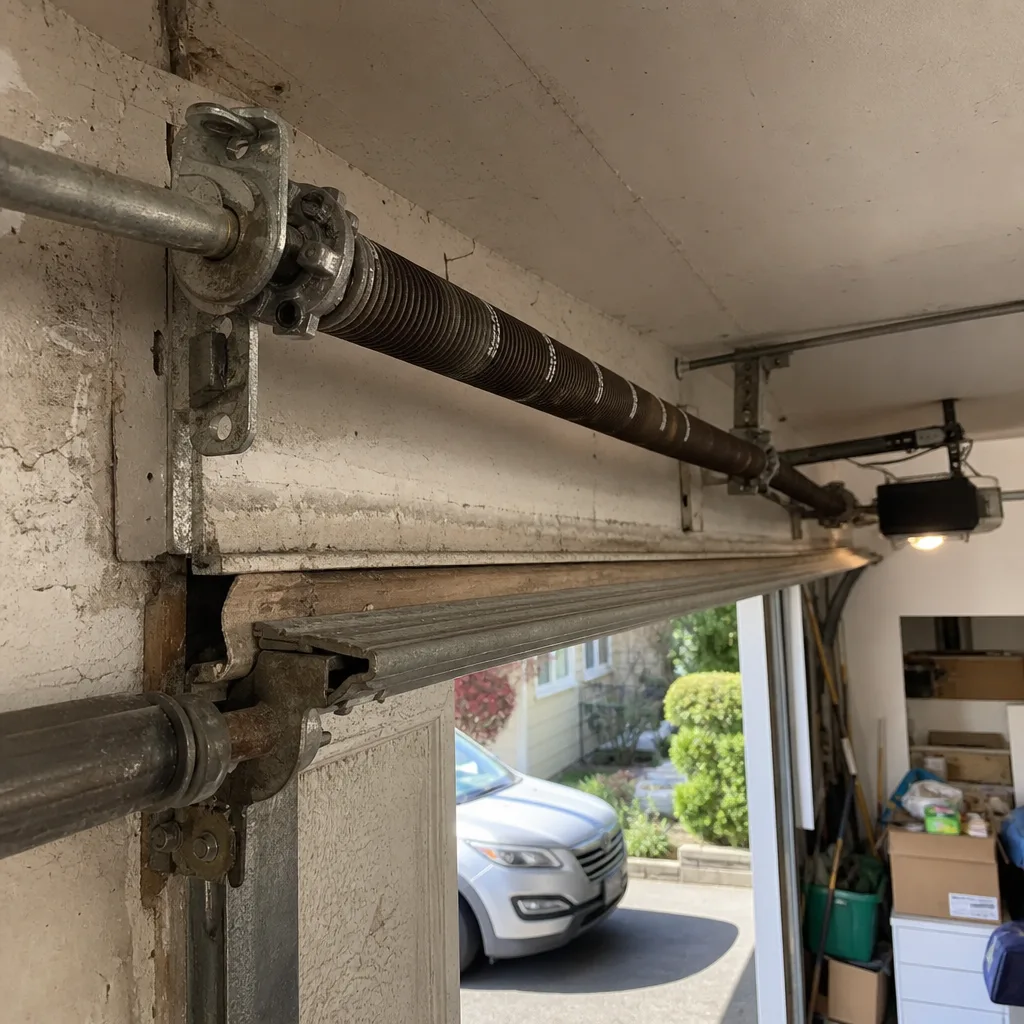 Before
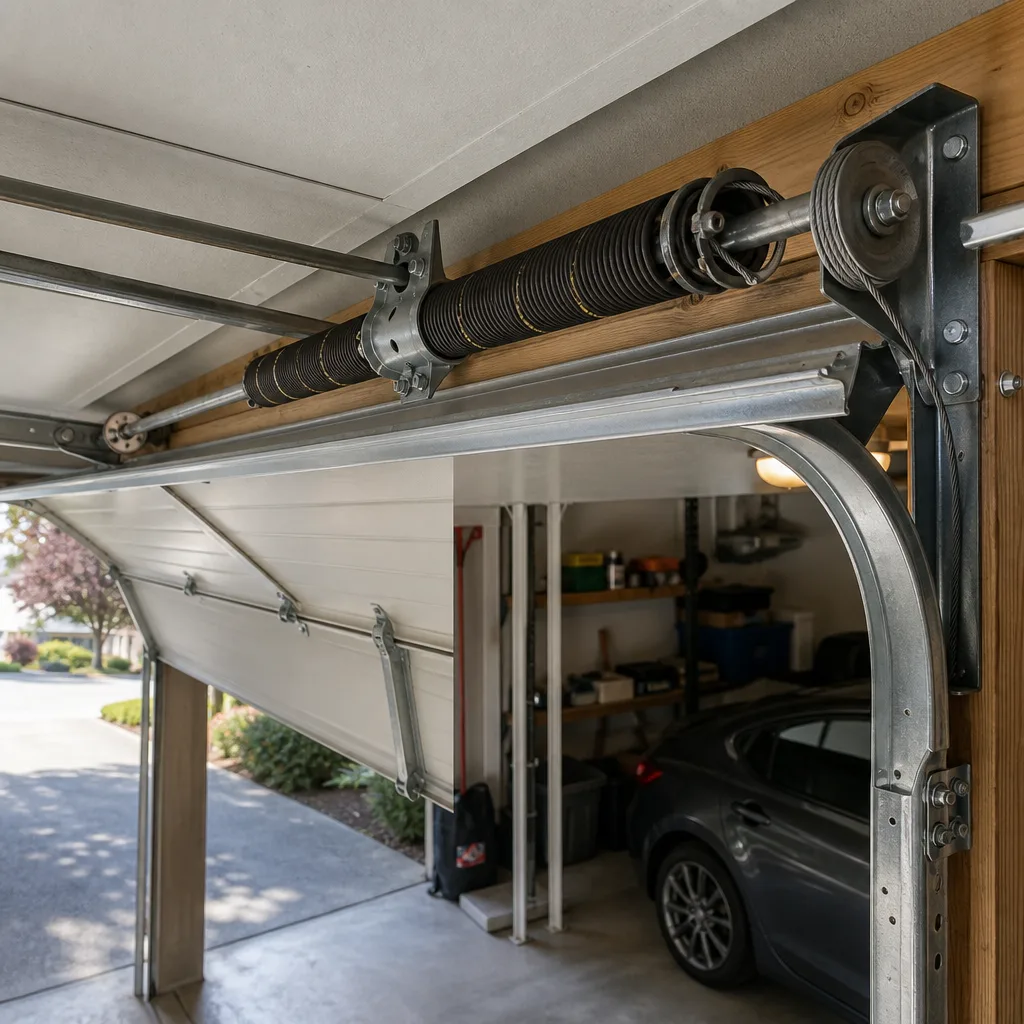 After
After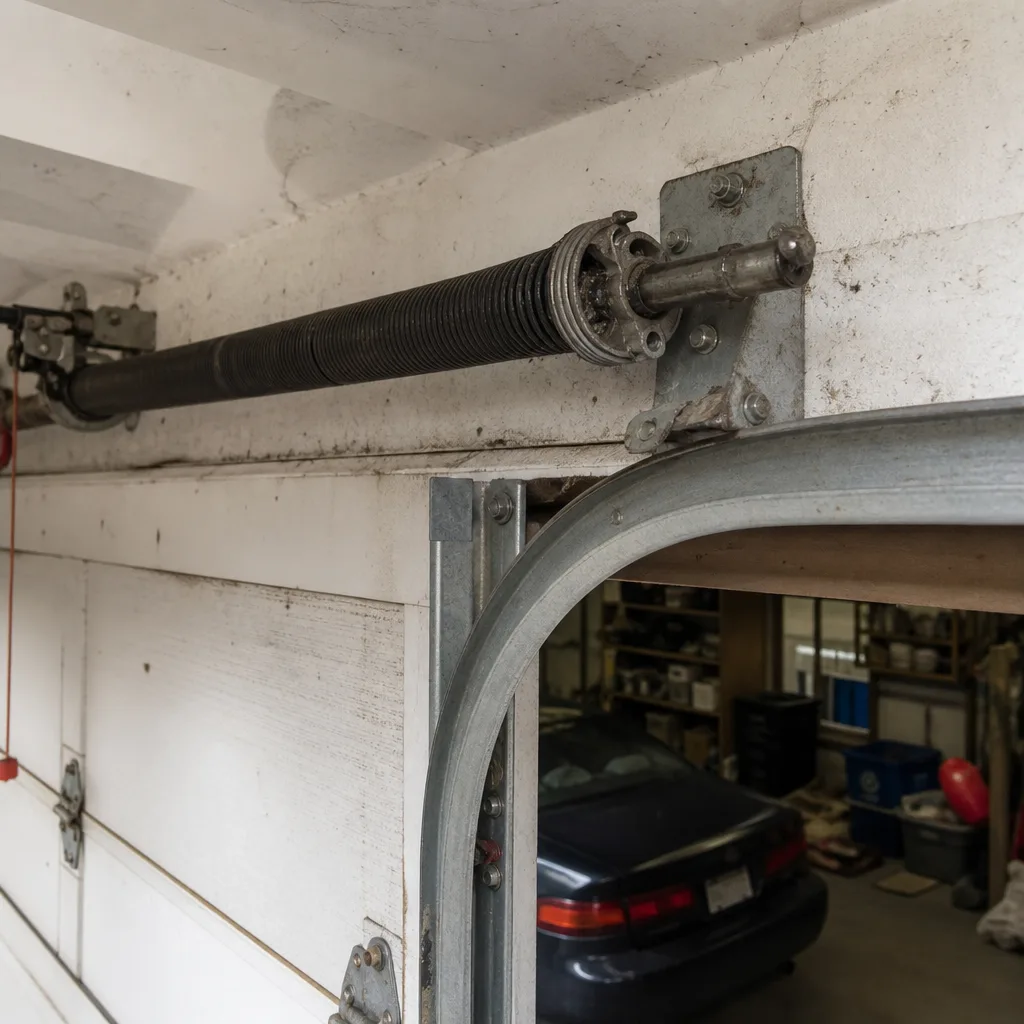 Before
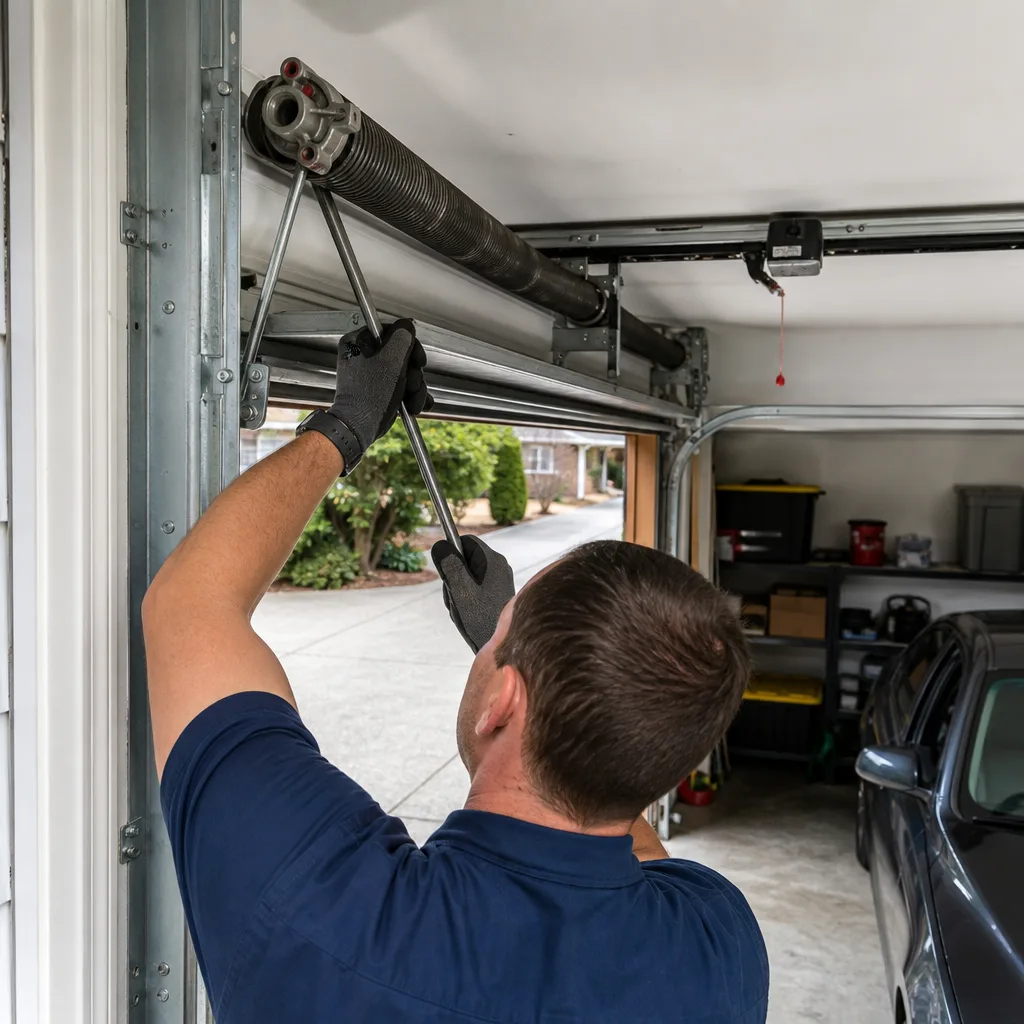 After
AfterGarage Door Permits, Codes & Inspections in WA: What You Need to Know
Most homeowners in Redmond assume a full garage door replacement automatically triggers a building permit. It usually doesn’t. The permit threshold sits at structural modification, not component swap, and confusing the two is how sellers end up explaining unpermitted work to a buyer’s inspector five years later. In this guide, we’ll draw the exact line between permit-exempt repairs and permit-required work under Washington’s adopted codes, walk through Redmond’s specific process, and show you what happens at inspection so you can prepare the site correctly the first time. For ongoing care after installation, see our Garage Door Repair Maintenance Checklist for Redmond Homeowners.
Quick Answer
In Washington State, garage door work needs a building permit only when it involves structural modification of the opening, new construction, or fire-rated assembly changes in attached garages. Simple repairs, spring replacements, and like-for-like door swaps on existing openings are exempt. When a permit is required, the inspector verifies fire separation, structural attachment, and safety device function.
Table of Contents
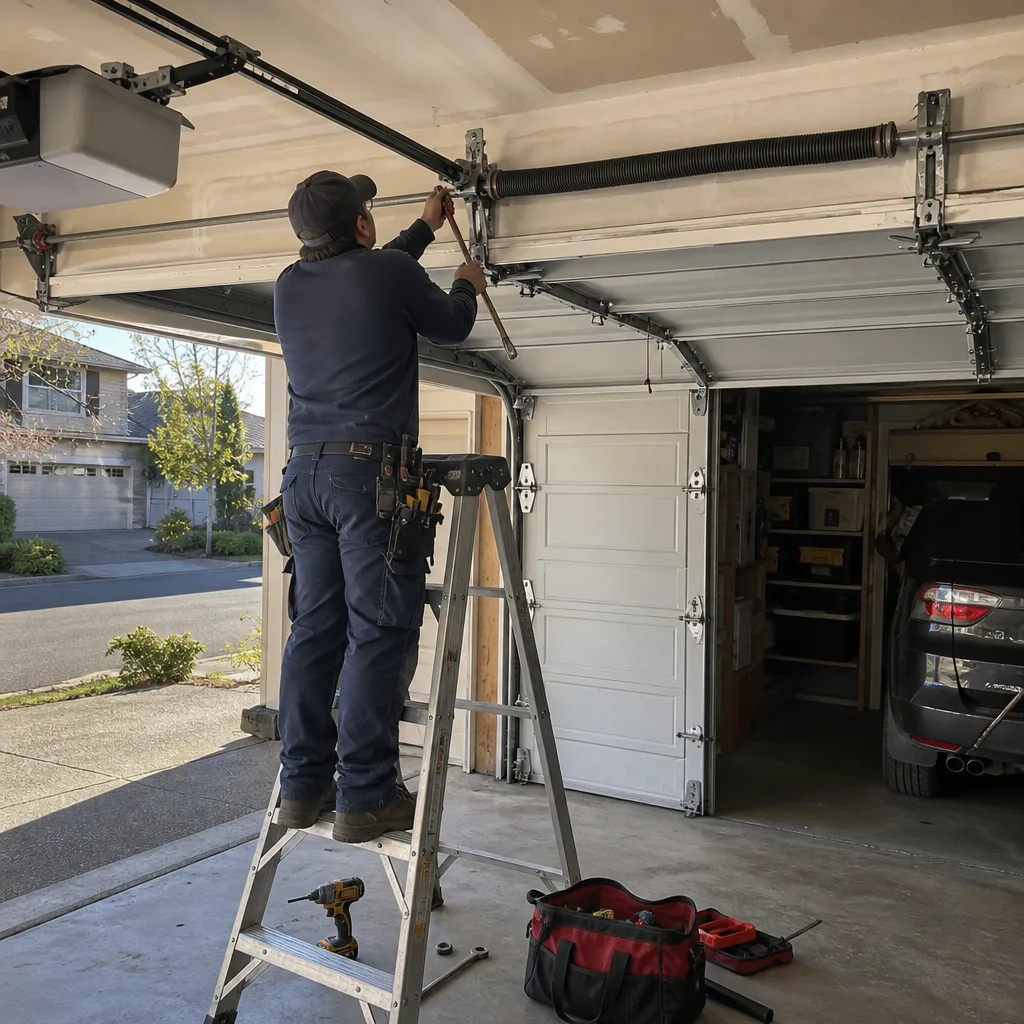
- When Is a Garage Door Permit Required in Washington?
- Which Codes Washington Has Adopted and What They Mean for Your Door
- Redmond’s Local Amendments and How They Modify State Rules
- Fire Separation for Attached Garages: IRC Section R302 Explained
- How to Pull a Permit Yourself vs. Requiring Your Contractor to Do It
- What Happens at Inspection: The Three Items an Inspector Checks
- Common Mistakes to Avoid
- When to Call a Professional
- Frequently Asked Questions
- The Bottom Line
 Before
 After
AfterWhen Is a Garage Door Permit Required in Washington?
Washington State operates under the State Building Code, which adopts the International Building Code (IBC) and International Residential Code (IRC) with state-specific amendments. For garage door work, the permit trigger is structural change, not cosmetic or mechanical replacement.
Here’s the breakdown that most Redmond homeowners need:
Work That Does NOT Require a Permit
- Replacing a broken torsion spring or extension spring on an existing door
- Swapping a faulty garage door opener for a new unit on the same header bracket
- Installing a replacement door of the same size on an existing opening with no framing changes
- Replacing rollers, cables, hinges, or weatherstripping
- Adjusting or replacing safety sensors and limit switches
We’ve performed thousands of these repairs across Redmond, from the older ranches near Education Hill to the newer builds in Southeast Redmond, and none required a permit. The key is that the rough opening dimensions, header structure, and wall framing remain untouched.
Work That DOES Require a Permit
- Widening or heightening an existing garage door opening
- Installing a door in a new opening where none existed before
- Modifying the header, jack studs, or king studs that support the opening
- Converting a window or pedestrian door into a garage door opening
- Changing the fire rating of a door between an attached garage and living space
- Any work that affects the structural load path from roof to foundation
The distinction matters because unpermitted structural work must be disclosed in Washington’s Form 17 Seller Disclosure Statement. A buyer’s lender or insurer can flag it, and retroactive permitting often costs more than doing it right the first time.
In Redmond specifically, the City of Redmond Building Division enforces these rules through the Garage Door Installation in Redmond permit process. Their inspectors apply the state code plus local amendments we’ll cover below.
Which Codes Washington Has Adopted and What They Mean for Your Door
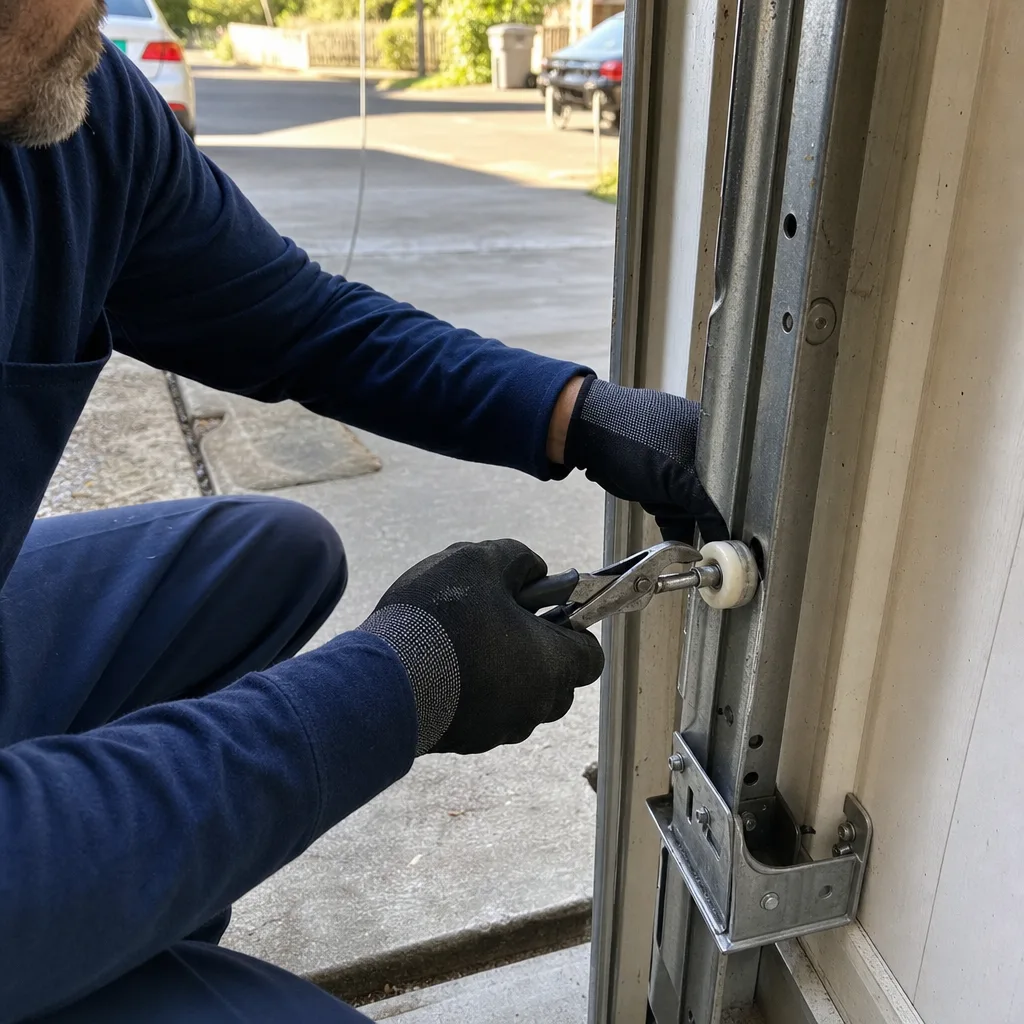
Washington’s current building code cycle adopts the 2021 IBC and 2021 IRC with state amendments published in the Washington State Building Code (WSBC). For residential garage doors, three code sections govern most decisions:
IRC Section R302.5: Fire Separation
This section requires a 20-minute fire-rated door or equivalent assembly between an attached garage and any living space. The door must be self-closing or equipped with a self-closing device. In Redmond’s climate, where attached garages often sit directly below bedrooms in split-level homes built between 1965 and 1995, this is the most commonly failed inspection item we see.
The code doesn’t require the garage door itself to be fire-rated. The garage door is an exterior opening. The fire-rated requirement applies to the pedestrian door between garage and house, and to any drywall or ceiling assembly that forms the separation. But garage door work can trigger re-inspection of the entire fire separation if the inspector observes deficiencies during the same visit.
IRC Section R609: Exterior Doors
This section covers installation requirements for exterior doors, including garage doors. It specifies minimum header sizes based on span and load, fastener schedules for attachment to framing, and threshold and weather protection standards. For a typical 16-foot wide double-car opening in Redmond, the IRC requires a minimum 2×12 header (or engineered equivalent) supporting roof and ceiling loads, with specific jack stud and king stud configurations.
IBC Chapter 10: Means of Egress (for Multi-Family)
Single-family detached homes are governed by the IRC. But if you’re working on a townhouse, duplex, or any structure with more than two dwelling units in Redmond, the IBC applies. IBC means-of-egress requirements can affect garage door specifications when the garage serves as an exit access or when the door is part of an accessible route.
Washington State Energy Code (WSEC)
The WSEC adds requirements for thermal performance of envelope components, including garage doors in conditioned spaces or when the garage is part of the thermal boundary. In Redmond’s 4C climate zone, this typically means a minimum R-value for garage doors on heated garages or when the garage ceiling is insulated as part of the home’s thermal envelope. Most standard steel doors with polyurethane injection meet this; uninsulated single-layer steel may not.
Redmond’s Local Amendments and How They Modify State Rules
The City of Redmond adopts the state building code without significant structural amendments for residential garage door work, but local enforcement practices create practical differences that matter for your project timeline and inspection success.
Redmond-Specific Practices
First, Redmond requires electronic plan submission for all permit applications, including simple garage door modifications. The city’s Servo Garage Doors Redmond home area contractors use the ProjectDox system. Paper submissions are not accepted for residential permits. This adds 1-2 business days to the front end compared to jurisdictions that still take walk-in applications.
Second, Redmond’s inspection scheduling operates through an online portal with same-week availability for most residential garage door inspections, provided the permit is active and all prior inspections (framing, if applicable) are passed. Same-day inspections are not available; plan for a 2-3 day buffer between requesting and receiving the inspection slot.
Third, Redmond enforces the state energy code strictly on garage door replacements in conditioned or semi-conditioned garages. We’ve seen inspectors request documentation of door U-factor or R-value on replacement projects where the original door was uninsulated and the new door is upgraded. Keep the manufacturer’s specification sheet on-site.
Critical Areas and Stormwater
Redmond’s Critical Areas Ordinance can affect garage door work indirectly. If your garage sits on a slope greater than 15% or within 200 feet of a wetland or stream, any excavation or grading associated with opening modification may trigger critical area review. This doesn’t apply to like-for-like door swaps, but it does apply if you’re enlarging the opening and need to regrade the approach or modify drainage.
The city’s stormwater requirements also mean that any work affecting the garage slab or apron must maintain positive drainage away from the structure. Inspectors check this visually; standing water at the threshold is a correction notice.
Neighborhood Context
In Redmond’s older neighborhoods, particularly near the original downtown and along Redmond-Woodinville Road, garages were often built with 7-foot-high openings and minimal headers. Modern door and opener combinations, especially belt-drive units with rail-mounted operators, need more headroom. Raising the header to accommodate a modern opener on a standard 8-foot door is structural modification and requires a permit. We’ve encountered this exact scenario in homes built in the 1970s, where the homeowner assumed a “simple” opener upgrade until we measured 4 inches of headroom and explained the header modification requirement. These situations are exactly why we published Garage Door Warning Signs: A Redmond Homeowner’s Reference Guide.
Fire Separation for Attached Garages: IRC Section R302 Explained
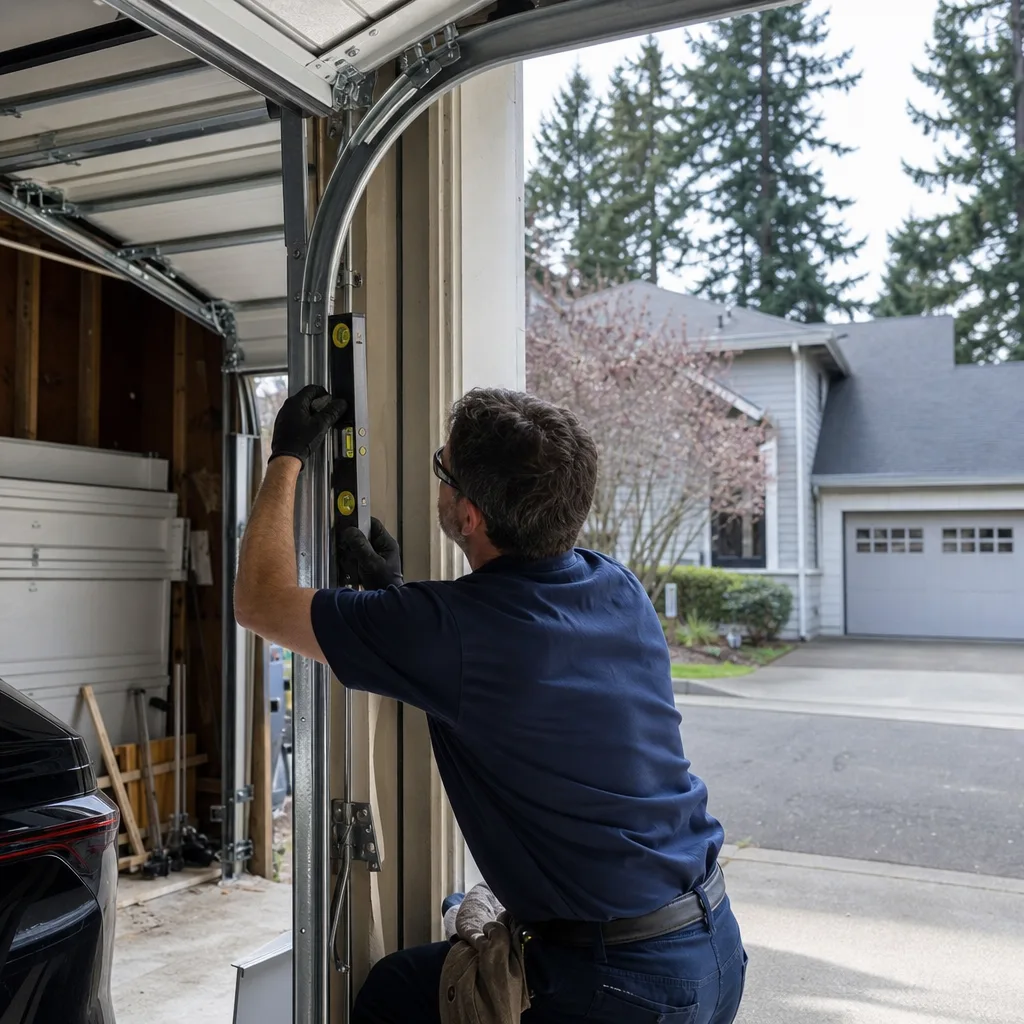
This is the code section that generates the most failed inspections and the most confusion among Redmond homeowners. Let’s separate what the code actually requires from what people assume it requires.
The Three Components of Fire Separation
IRC R302.5 and R302.6 establish three layers of protection between an attached garage and living space:
- The door assembly: Any door between garage and house must be 20-minute fire-rated, solid wood 1-3/8 inches thick, or steel with equivalent rating. It must be self-closing or have a self-closing device. Screen doors, hollow-core doors, and removed self-closing hinges are immediate failures.
- The wall assembly: The wall between garage and living space must be covered with 1/2-inch gypsum board on the garage side. If there’s a habitable room above the garage, the ceiling must also be 5/8-inch Type X gypsum.
- The penetration control: Ducts, wiring, and plumbing passing through fire separation must be sealed and protected. Flexible ducts are prohibited; rigid metal with minimum 26-gauge thickness is required.
What This Means for Garage Door Work
Your garage door itself is not part of the fire separation. It’s an exterior door. But garage door projects often expose or disturb the fire separation during installation, particularly when:
- Removing the old door reveals deteriorated or missing gypsum at the side walls
- The header modification requires cutting into the wall between garage and living space
- The opener wiring is run through the separation improperly
Redmond inspectors are trained to observe the entire garage during a door installation inspection, not just the door. A clean door installation with a failed fire separation gets a correction notice. We’ve arrived at jobs where the previous contractor passed the door but failed the separation, leaving the homeowner with an open permit and a second inspection fee.
What a Failed Inspection Looks Like
The most common failure we document in our photo records: the self-closing hinge has been removed from the interior door “because it was annoying,” or the 20-minute door was replaced with a decorative glass panel by a previous owner. The inspector tags it, the permit can’t close, and the homeowner learns about it during a pre-listing inspection. In Redmond’s competitive real estate market, this can delay closing.
Our protocol, per Clause 4 of The Haven Standard, includes photographing the fire separation on every attached garage job, not just the door. The customer sees what we saw. If there’s a deficiency, we quote it in writing before touching it, with the code section cited.
How to Pull a Permit Yourself vs. Requiring Your Contractor to Do It
Washington law allows either the property owner or the contractor to pull the permit. The choice has legal and practical consequences that should be specified in your written contract. If you’re unsure which path to take, our guide on How to Hire a Garage Door Contractor in Redmond: A Step-by-Step Guide covers permit responsibility in detail.
Option 1: Homeowner-Pulled Permit
You can pull an owner-builder permit if the property is your primary residence and you intend to occupy it for at least 12 months after completion. The advantage: you control the permit and inspection schedule directly. The disadvantage: you assume legal responsibility for code compliance, and the permit history attaches to your property record permanently.
Redmond’s owner-builder permit requires you to sign an affidavit acknowledging that you understand the code requirements and assume liability for violations. This is not a formality; we’ve seen homeowners held responsible for subcontractor errors when they pulled the permit themselves.
Option 2: Contractor-Pulled Permit
The contractor pulls the permit in their business name. The permit attaches to their contractor registration and insurance. If code violations emerge, the contractor is the responsible party. This is the standard arrangement for most Garage Door Repair in Redmond and installation work that requires permitting.
Under Washington’s contractor registration law (RCW 18.27), any contractor performing work requiring a permit must be registered with the Department of Labor and Industries. Verify registration at secure.lni.wa.gov/verify before hiring. Unregistered contractors cannot legally pull permits.
What Your Contract Should Specify
Per Clause 1 of The Haven Standard, our written scope includes a permit responsibility line: either “Permit to be pulled by Servo Garage Doors, included in quoted price” or “Permit to be pulled by owner, not included in quoted price.” No ambiguity. The price is flat either way.
Your contract with any contractor should specify:
- Who pulls the permit
- Who pays permit fees
- Who schedules inspections
- Who corrects deficiencies identified at inspection
- Whether re-inspection fees are included in the contract price
Redmond’s base permit fee for a residential garage door modification runs approximately $200-400 depending on valuation, plus plan review fees for complex projects. Re-inspection fees apply if the inspector finds corrections needed; they’re typically half the original inspection fee.
The Documentation Rule
Whether you or your contractor pulls the permit, request the final inspection approval letter and keep it with your home records. In Washington, permit history is public and searchable by address. Buyers and their inspectors check it. Having the final approval on file prevents surprises.
What Happens at Inspection: The Three Items an Inspector Checks
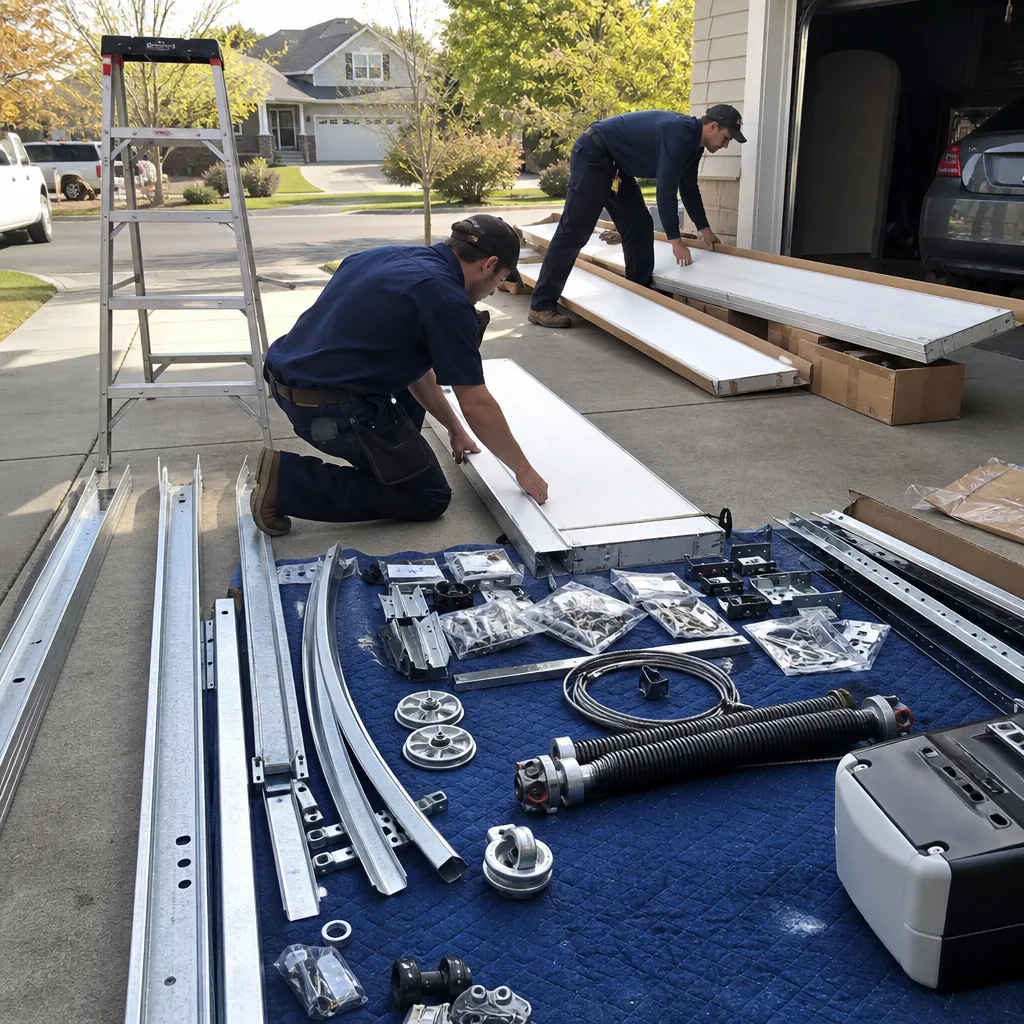
Redmond building inspectors follow a consistent protocol for residential garage door inspections. Understanding it lets you prepare the site and avoid the most common correction notices.
Step 1: Structural Attachment Verification
The inspector verifies that the door frame, track supports, and opener header bracket are anchored to structural framing with appropriate fasteners. For a typical residential installation, this means:
- Track mounting brackets lag-screwed into framing members, not just drywall or sheathing
- Opener header bracket secured to the center of the header with minimum 3-inch lag screws into solid wood
- Spring anchor bracket (for torsion systems) through-bolted to the header, not surface-mounted with screws
In Redmond’s wet climate, inspectors also check for wood rot or moisture damage in the header and jambs. A header that was sound when permitted can degrade before inspection if exposed to leaks. We photograph this condition in our pre-work documentation so there’s no dispute about pre-existing damage.
Step 2: Safety Device Function
The inspector tests photoelectric sensors and door-edge sensors for proper function. The door must reverse within 2 seconds of contacting a test object, or reverse before contact if photoelectric sensors are installed. Sensors must be mounted 6 inches or less above the floor, aligned, and unobstructed.
Redmond inspectors use a standardized test protocol: a 2×4 laid flat in the door path for contact-reverse testing, and a visual alignment check for photoelectric units. Failed sensors are the single most common correction notice on new installations, usually due to wiring errors or mounting height.
We test this twice: once during installation, once before the inspector arrives. Our photo record includes the sensor height measurement and the reversal test result.
Step 3: Fire Separation and Egress Review
As detailed above, the inspector observes the fire separation between garage and living space. This includes the pedestrian door, wall gypsum, ceiling gypsum if applicable, and any penetrations. They also verify that the garage door does not obstruct required egress paths or emergency escape windows.
In Redmond’s multi-family and townhouse developments, particularly in the Overlake and Bear Creek areas built since 2010, inspectors also verify that the garage door opener has a battery backup if required by local ordinance for units with bedrooms above or adjacent to the garage.
How to Prepare for Inspection
- Clear the garage floor of vehicles, storage, and debris for full access to all walls
- Ensure the pedestrian door between garage and house is accessible and functional
- Have the manufacturer’s specification sheet for the door and opener available
- Test the door operation and sensor function yourself before the inspector arrives
- If the permit required plans, post the approved plans on-site
Inspections typically take 15-30 minutes. The inspector will either approve, issue a correction notice with specific items to address, or require re-inspection. Redmond allows online re-inspection scheduling once corrections are complete.
Common Mistakes to Avoid
- Assuming “like-for-like” means any door on any opening. A 16×7 door replacing a 16×7 door is exempt only if the opening framing, header, and supports are untouched. If your new door is heavier and requires upgraded hardware or reinforcement, that can trigger structural modification rules.
- Pulling a permit for exempt work. We’ve seen homeowners pay permit fees for spring replacements because a contractor was unclear or the homeowner was overly cautious. Redmond does not require permits for mechanical component replacement on existing doors.
- Ignoring the fire separation during a door project. The inspector is looking at the whole garage. A pristine door installation fails if the interior door is hollow-core or the self-closer is removed. Address it in your scope or confirm it’s already compliant.
- Hiring an unregistered contractor who cannot pull permits. Verify L&I registration before signing. Unregistered contractors who offer to “save you money” by skipping permits expose you to liability and can void your homeowner’s insurance if damage occurs.
- Not specifying permit responsibility in the contract. Ambiguity here leads to disputes, missed inspections, and open permits. The written contract should state who pulls, who pays, who schedules, and who corrects.
- Modifying the opening without engineering for the header. Redmond’s soil conditions and seismic requirements mean header spans must be calculated for actual loads, not guessed. A 16-foot opening with a second story above needs an engineered solution, not a doubled 2×12 from the hardware store.
- Neglecting to request final approval documentation. The permit isn’t closed until the inspector issues final approval. Request the letter, check the city online portal, and keep the record. We’ve seen homeowners discover open permits years later during refinancing.
When to Call a Professional
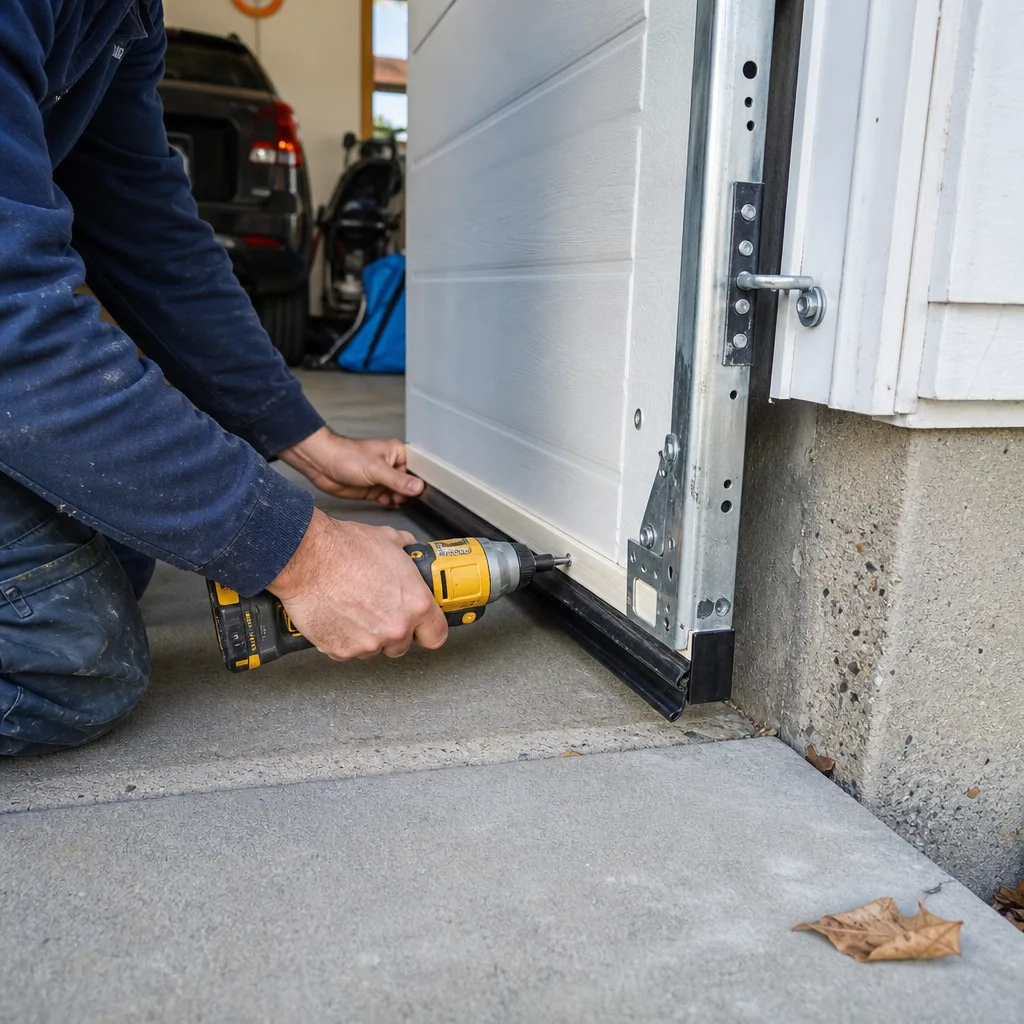
Call a registered, insured garage door contractor when your project involves structural modification, fire-rated assemblies, or any scope where you’re uncertain about the permit threshold. The cost of professional consultation is lower than the cost of unpermitted work discovery. For more guides & resources on garage door projects in Redmond, visit our blog.
Specific scenarios that warrant professional evaluation: your garage has less than 8 inches of headroom and you want a modern opener; you’re converting a carport to an enclosed garage; your attached garage has a finished room above it and you’re replacing the door; or you’re selling within 24 months and need clean permit history.
Servo Garage Doors Redmond offers free estimates in Redmond, including permit requirement assessment as part of our written scope. Every evaluation includes the documented photo record described in Clause 4 of The Haven Standard, so you see what we see before any commitment. Call (425) 305-4847 to schedule.
Frequently Asked Questions
No, if you’re installing a new door of the same size on an existing opening with no framing changes. Yes, if you’re widening the opening, modifying the header, or changing the structural supports. The City of Redmond follows Washington State Building Code exemptions for like-for-like component replacement. Call (425) 305-4847 if you’re unsure about your specific opening - we’ll assess it and document the condition in writing.
Base permit fees for residential garage door modifications typically run $200-400 depending on project valuation, plus plan review fees for engineered solutions. Re-inspection fees apply if corrections are needed. These fees are separate from contractor labor and materials. We include permit costs in our flat written price when we pull the permit, with no surprise add-ons.
You can perform exempt work, such as mechanical repairs or like-for-like door replacement, as an owner. Structural modifications require a permit regardless of who performs the work. If you pull an owner-builder permit, you assume liability for code compliance. Most homeowners in Redmond hire a registered contractor for permitted work to transfer that liability and ensure inspection passage.
Unpermitted structural work must be disclosed on Washington’s Form 17 Seller Disclosure Statement. Buyers, lenders, and insurers can require retroactive permitting, which often involves opening walls for inspector access and may cost more than original compliance. In Redmond’s active real estate market, unpermitted garage modifications are frequently flagged during pre-sale inspections.
The IRC does not require a dedicated circuit for residential garage door openers, but the NEC requires GFCI protection for garage receptacles and may require AFCI protection depending on the code cycle. Redmond enforces the current electrical code amendments. If your opener is hardwired rather than cord-and-plug connected, an electrical permit may be required separately from the building permit.
Electronic submission through ProjectDox typically takes 1-2 business days for intake. Simple garage door modifications without engineering review are often issued within 3-5 business days. Inspection scheduling adds 2-3 days for the first available slot. Total timeline from application to final approval is typically 1-2 weeks for straightforward projects, longer if corrections or re-inspection are needed.
The Bottom Line
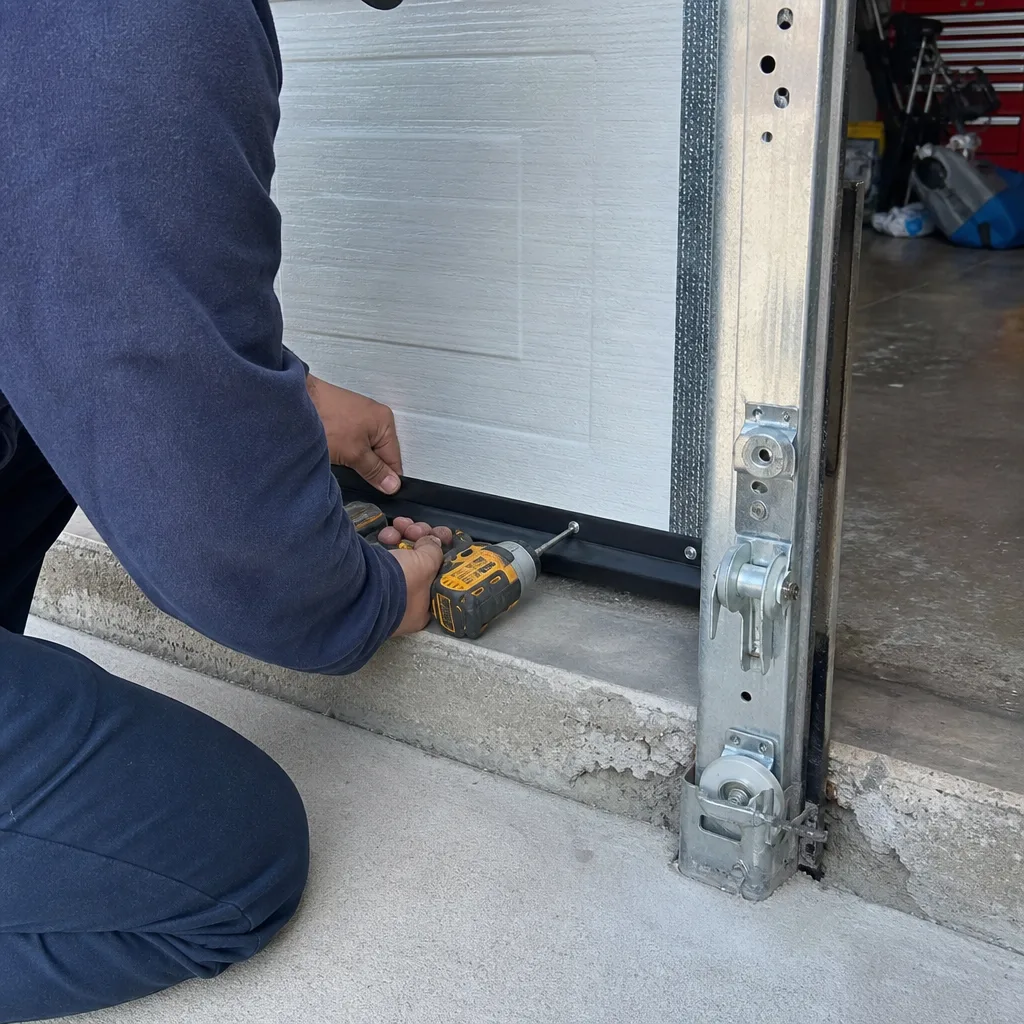
Washington’s garage door permit requirements are narrower than most homeowners fear and more consequential when triggered. The dividing line is structural modification, not door replacement. Know your opening: if the framing stays the same, the permit usually stays in the drawer. If the header, studs, or dimensions change, pull the permit, specify responsibility in your written contract, and prepare for three inspection checks: structural attachment, safety device function, and fire separation. In Redmond’s market, clean permit history protects your sale price and prevents closing delays. Document everything, verify your contractor’s registration, and keep the final approval letter with your home records.
Written by Marcus Deller, Owner at Servo Garage Doors Redmond, serving Redmond since 2015.